For this article, I will show you how to grab geolocation data from a visitor's IP address. We won't be using any third-party APIs however we will be using MaxMind's GeoLite2 database, which does require an account and an API key. I'll cover this in more detail further down.
We'll be using the latest version of Laravel (v11) but this should apply to other versions, too.
Why use the GeoLite2 Database?
One reason is because it's free to use. The database isn't as accurate as their paid alternative but you avoid rate-limited APIs and committing to any monthly payments. This all depends on your use case and how accurate your data must be.
Another solution is ipapi which offers up to 30,000 lookups a month (1,000 a day) for free.
Creating a New Project
First things first, let's create a new Laravel project. If you're looking to do this with an existing project, that's fine, you can skip this.
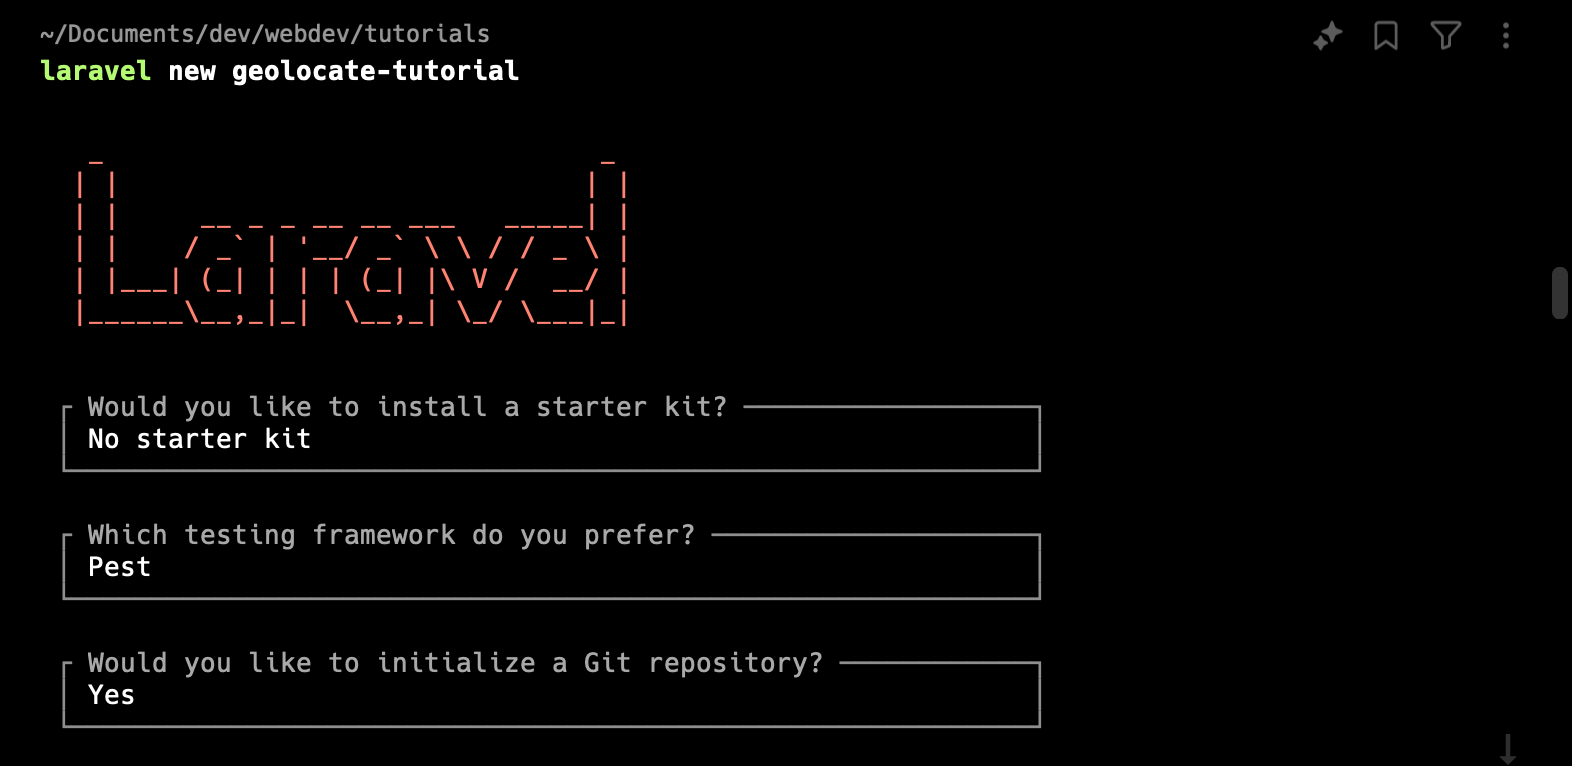
$ laravel new geolocate-tutorialAdvance through Laravel's configurator based on your own preferences. I personally didn't pick a starter kit as it won't be required for what we'll be doing.
Setting Up Your Project
Now that we have a project to work with. Let's start configuring it for grabbing geolocation data.
Go ahead and install the geoip2 package. This is an official package maintained by MaxMind for interacting with their API and database.
$ composer require geoip2/geoip2:~2.0Then next, grab the laravel-geoip package. This provides us with a layer on top of the base package that makes it more convenient when working with Laravel. In addition, it can be configured to use other services other than MaxMind. (such as ipapi, which has a free API available)
$ composer require torann/geoipPublish the package's config file as we'll need to make a few changes to this file:
$ php artisan vendor:publish --provider="Torann\GeoIP\GeoIPServiceProvider" --tag=configOpen up config/geoip.php and make the following modifications:
- Change
servicetomaxmind_database.Swap out as required if using another service. - Optional: Change
cache_tagstonull. This is required if you're using the database/file cache (or for testing locally). If you are already using Redis then this can be left alone.
'cache_tags' => null,Grabbing Geolocation Data
I'm going to create an invokable controller for testing the IP lookup and then rewrite the home route in web.php to use this controller.
$ php artisan make:controller IPLookupController -i<?php
use App\Http\Controllers\IPLookupController;
use Illuminate\Support\Facades\Route;
Route::get('/', IPLookupController::class);
routes/web.php
After that's done, you can use the geoip() function or access it via its facade to retrieve geolocation data from an IP address. See the Basic Usage guide to see how this looks.
To see this in practice, let's add it to the IPLookupController and dd to see what data we receive.
<?php

namespace App\Http\Controllers;

use Illuminate\Http\Request;

class IPLookupController extends Controller
{
    public function __invoke(Request $request)
    {
        $ipAddress = '127.0.0.1';
        $geoIPData = geoip($ipAddress);

        dd($geoIPData);
    }
}
app/Http/Controllers/IPLookupController.php
Open the page in your browser. You should see the same output as below:
Torann\GeoIP\Location {#251 ▼ // app/Http/Controllers/IPLookupController.php:17
  #attributes: array:14 [▼
    "ip" => "127.0.0.0"
    "iso_code" => "US"
    "country" => "United States"
    "city" => "New Haven"
    "state" => "CT"
    "state_name" => "Connecticut"
    "postal_code" => "06510"
    "lat" => 41.31
    "lon" => -72.92
    "timezone" => "America/New_York"
    "continent" => "NA"
    "currency" => "USD"
    "default" => true
    "cached" => false
  ]
}
Since I've used the local address (127.0.0.1) for this it's returned the default_location as defined in the geoip.php config file.
There's a problem, though. If we change this to an external IP it'll still return the same address. That's because we still need to set up the GeoLite2 database. We'll do this next.
Configuring GeoLite2 Database
Conveniently, laravel-geoip gives us a command to retrieve the GeoLite2 database. However, we first need to register for a MaxMind account to retrieve an API key.
Create a MaxMind Account
Follow the Sign Up form to gain access to an account and GeoLite2:
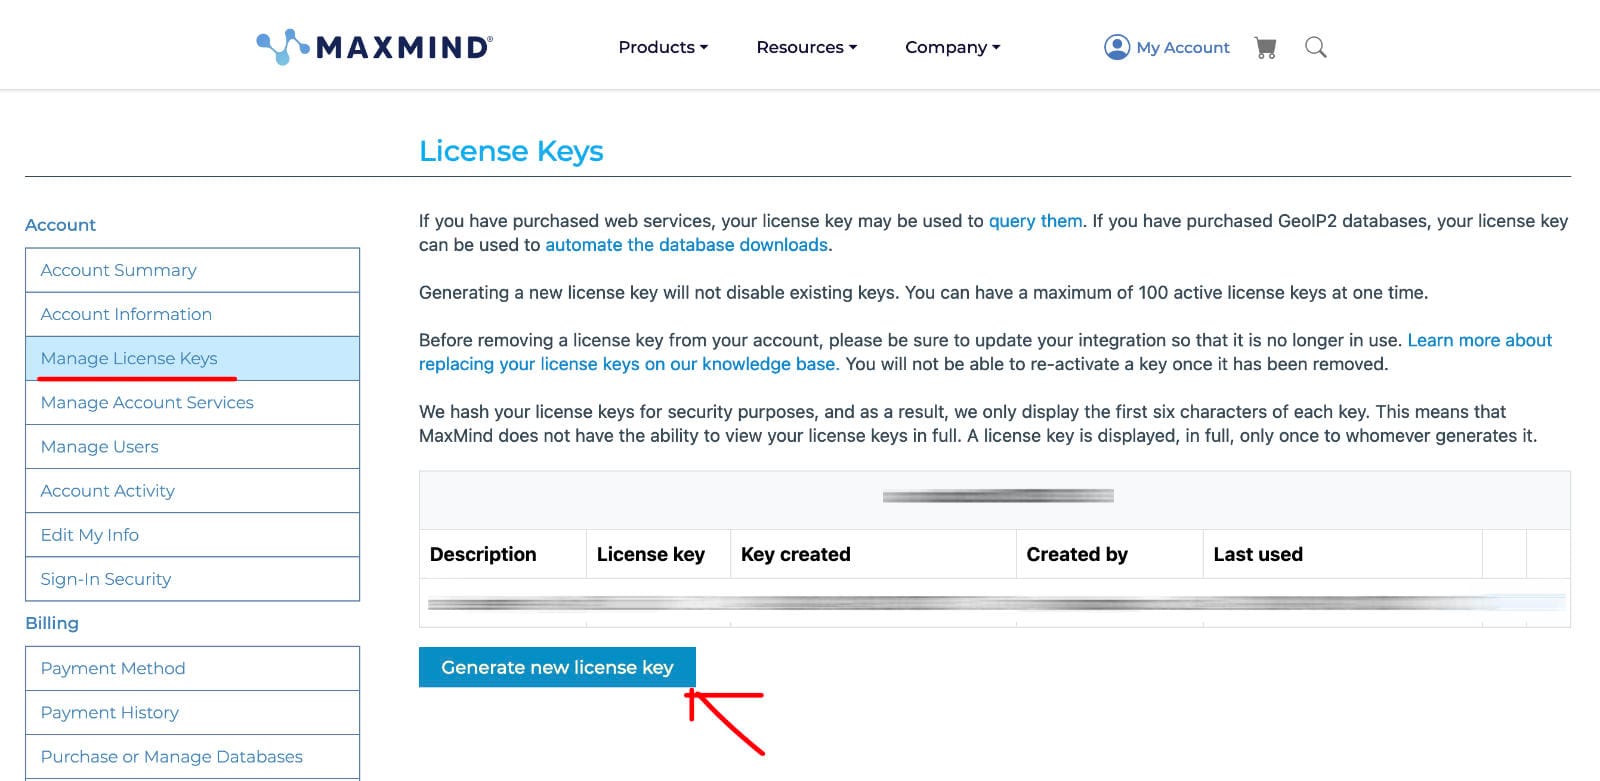
Once you have access to an account and have opened the portal. You want to click on "Manage License Keys" and "Generate a new license key". Complete the subsequent pages until you get given an API key. Make note of this as we will use it in the following step.
Take the API key then add this to your .env file.
MAXMIND_LICENSE_KEY=YOURKEYNow you should be able to download the GeoLite2 database. Again, laravel-geoip makes this even easier for us and we can just run the following command to fetch the database.
$ php artisan geoip:update Once completed, rerun the code that prints out the geoip response that we wrote above against a non-local IP address. (try your own IP to see what you get)
Remember we are using the GeoLite2 database for this so your lookups will work without an internet connection or calling a third party API.
Using GeoLite2 Database in Production
IP addresses are moving around all the time so we want to make sure we have the latest version of the database available.
When you run this in production, don't forget to add the geoip:update command to your daily scheduler/cron.
Secondly, the downloaded database is stored in your storage/app folder by default. This shouldn't be commited to your git repository so be sure to check this file exists when you deploy your code. Again – run the geoip:update command to do this.
FAQ
How can I retrieve the user's IP?
The user's IP is retrievable via $request->getClientIp(); or $request->ip();