Go (also known as Golang) is a compiled language, meaning each time we make a code change the project needs to be rebuilt and run. This differs from a scripting language such as PHP where code changes can be seen immediately as the code is interpreted on the fly.
In this tutorial, we're going to look at how we can set up a docker container that will watch for changes and live reload our Go application.
Live Reloading vs Hot Reloading
First of all, let's address the differences between live reloading and hot reloading.
Hot Reloading listens for changes made to individual files and will only reload the modified page without losing its full state.
Live Reloading listens for changes made to individual files and will rebuild the whole application, clearing its state.
You can read more about the differences on Stack Overflow.
Since we're dealing with a compiled language we will be focusing on live reloading to rebuild and run our binary.
Project Setup
Create a new directory for your go project and we'll initialise the project as a go module with:
$ go mod init GoLiveReloadExampleAnd then create a main.go file and let's print out some text.
package main

import "fmt"

func main() {
	fmt.Println("hello")
}
Then to build and execute the program like we would usually do:
$ go run main.go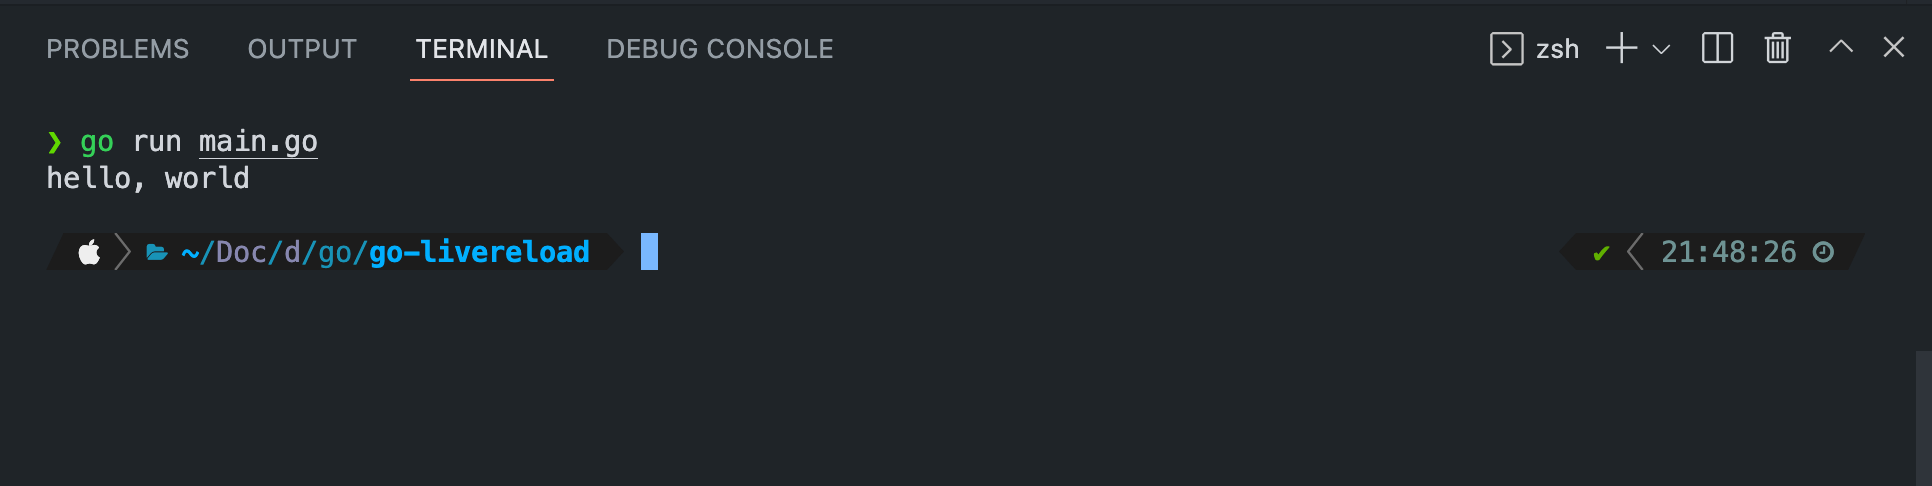
Setting Up The Docker Image
In order to set up live reloading, we will use a tool called CompileDaemon.
 githubnemo
This listens for file changes in our Go project and will rebuild the binary, binning off the previous executable and running the fresh one.
Create a new file dev.dockerfile and in this file, we'll build a container using the latest Go image.
FROM golang:latest

ENV PROJECT_DIR=/app \
    GO111MODULE=on \
    CGO_ENABLED=0

WORKDIR /app
RUN mkdir "/build"
COPY . .
RUN go get github.com/githubnemo/CompileDaemon
RUN go install github.com/githubnemo/CompileDaemon
ENTRYPOINT CompileDaemon -build="go build -o /build/app" -command="/build/app"Stepping through the code in this file:
ENV PROJECT_DIR=/app \
    GO111MODULE=on \
    CGO_ENABLED=0
Set up environment variables used by the container. GO111MODULE is enabled as required by CompileDaemon later on.
WORKDIR /app
RUN mkdir "/build"
COPY . .
Set the working directory as /app so the following commands will be performed within this directory. Create a /build directory for storing the compiled build and finally copy our project files into the container.
RUN go get github.com/githubnemo/CompileDaemon
RUN go install github.com/githubnemo/CompileDaemon
Here we grab the CompileDaemon module and install it inside the container.
ENTRYPOINT CompileDaemon -build="go build -o /build/app" -command="/build/app"Finally, the container built from this image will run the CompileDaemon on creation. We instruct CompileDaemon to output the built binary into /build/app and then instruct it to execute the binary after it has finished building.
Setting Up Docker Compose
The last thing to do is to set up a docker-compose.yml file, so go ahead and create that in your project directory then throw the following code into it.
version: '3'

services:
  app:
    build:
      context: .
      dockerfile: ./dev.dockerfile
    volumes:
      - ./:/app
And that's it!
I've kept this to the bare minimum to avoid unnecessary noise. To give a quick primer on what's happening here:
dockerfile: ./dev.dockerfile tells docker which dockerfile to use to build the service. In our case, this is the file from the previous section.
volumes:
      - ./:/app
And here the project directory is being mapped to the app directory within the container. This allows CompileDaemon to observe code changes and rebuild the program automatically. Without this, the project will build on startup but won't detect any changes to the code as we make changes.
The final project structure should look like this:
- dev.dockerfile
- docker-compose.yml
- go.mod
- main.go
Running The Application
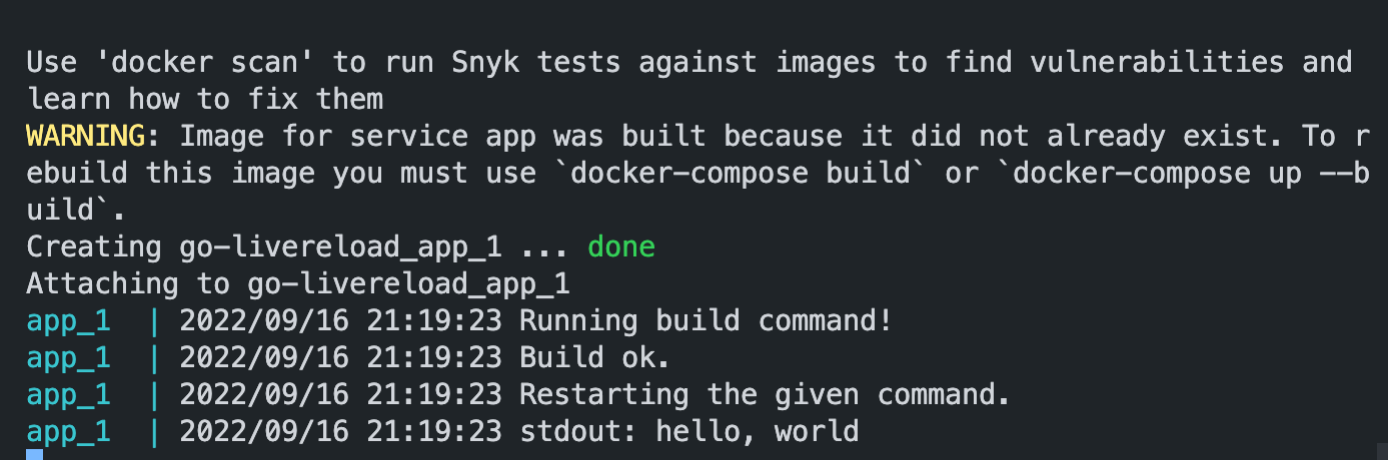
Let's test this out! Run docker-compose up in the terminal and if all goes well we should see our program output at the very bottom.
To test the live reloading is working. Open up main.go and change the printed message to something else. Save and observe the terminal output.
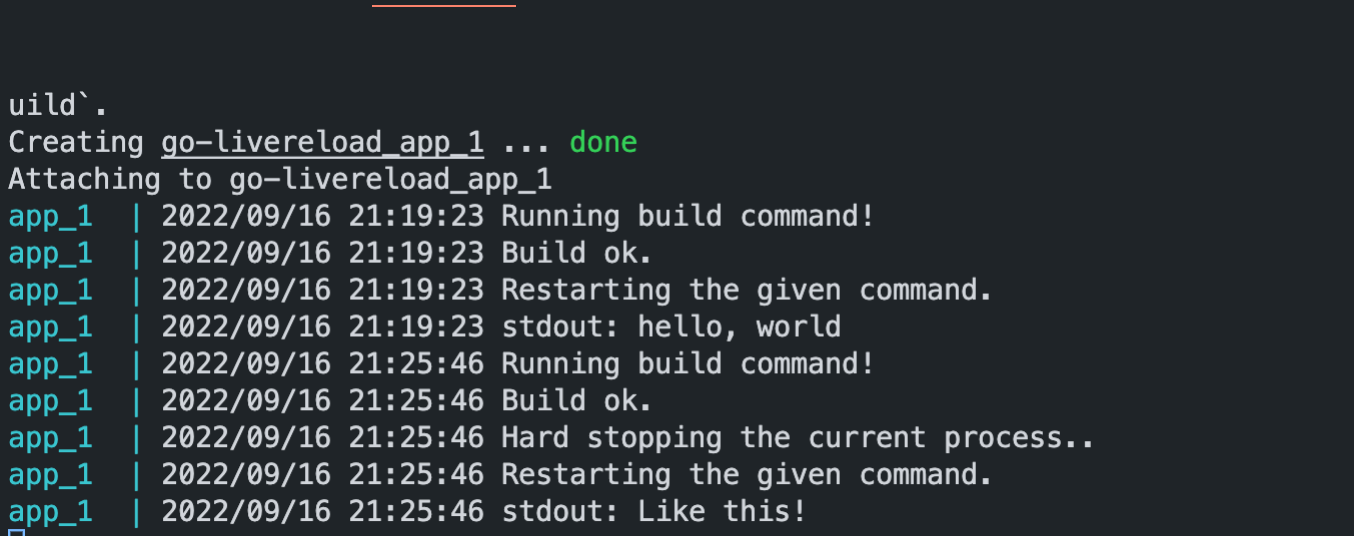
Huzzah! Our go binary has automatically been rebuilt and run.
Press ctrl-c / cmd-c to terminate the container. Running docker-compose up again will restore the container without the need to rebuild the docker image.
Optionally, the container can be run as a daemon by running docker-compose up -d. This will run the program as a background process which will require running docker-compose logs to see the output. When no longer wanted, docker-compose down to take it down.
Conclusion
Hopefully, this has helped you get set up with live reloading your Go projects with Docker. This only serves as a minimal example and can easily be taken further.
Here's a quick example showing how you could run a web server using the standard library.
package main

import (
	"fmt"
	"net/http"
)

func main() {
	http.HandleFunc("/", func(w http.ResponseWriter, r *http.Request) {
		fmt.Fprintf(w, "Hello, world!")
	})

	http.ListenAndServe(":8080", nil)
}
And don't forget to update the docker-compose.yml to port forward the local 8080 port to the container's 8080 port.
version: '3'

services:
  app:
    build:
      context: .
      dockerfile: ./dev.dockerfile
    ports:
      - 8080:8080
    volumes:
      - ./:/app
Stop and start the container then open up http://localhost:8080 in your browser to connect to the web server. As before, make changes to main.go and refresh the page to see your changes - though this might take a second or two to apply!
That about wraps it up! Let me know in the comments below if you have any issues or want me to explore any other topics.