If you're looking to handle file uploads with Laravel then look no further! I will cover the bare minimum that you need to start handling file uploads in Laravel, and then we will look at a little more advanced stuff by adding validation and Form Requests into the mix.
Note that whilst this tutorial was written for Laravel 9, it is still applicable for future versions of Laravel that I am so far aware of.
Feel free to follow along with the video or continue reading below!
The HTML File Upload Form
Here I've set up an HTML form in a blade file upload.blade.php for handling the file upload. The form must use the POST method and enctype="multipart/form-data" in order to submit files to the backend.
<form
    method="POST"
    action="{{ route('fileUpload.upload') }}"
    enctype="multipart/form-data"
>
    <!-- Laravel XSRF token injection -->
    @csrf

    <!-- Form field where the file will be selected -->
    <input
        name="upload"
        type="file"
    />

    <!-- Button to submit our form -->
    <button type="submit">
        Upload
    </button>
</form>Setting up the FileUpload Controller
Create a new controller, where we will add our file handling logic.
$ php artisan make:controller FileUploadControllerIn the newly created FileUploadController. Add the following code, making note of the namespace import at the top. This should already be included at the top of the controller if you have used the make:controller artisan command.
use Illuminate\Http\Request;
...
public function upload(Request $request)
{
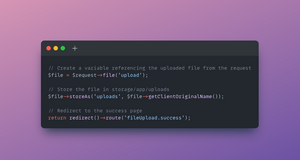
// Create a variable referencing the uploaded file from the request
$file = $request->file('upload');
// Store the file in storage/app/uploads
$file->store('uploads');
// Redirect to the success page
return redirect()->route('fileUpload.success');
}Now below this, add another method for the success route. Feel free to customise this as necessary.
public function success()
{
    return 'Success!';
}
And to finally tie it all together we need to add the following routes to routes/web.php to hook up with the new FileUpload controller.
Route::get('/', fn () => view('upload'));
Route::get('/success', [FileUploadController::class, 'success'])->name('fileUpload.success');
Route::post('/', [FileUploadController::class, 'upload'])->name('fileUpload.upload');
Time to open the page where our form's HTML is (http://localhost:8000 for me), and click browse, select a file then click upload!


And we should also see the file stored in our storage folder, underneath uploads.
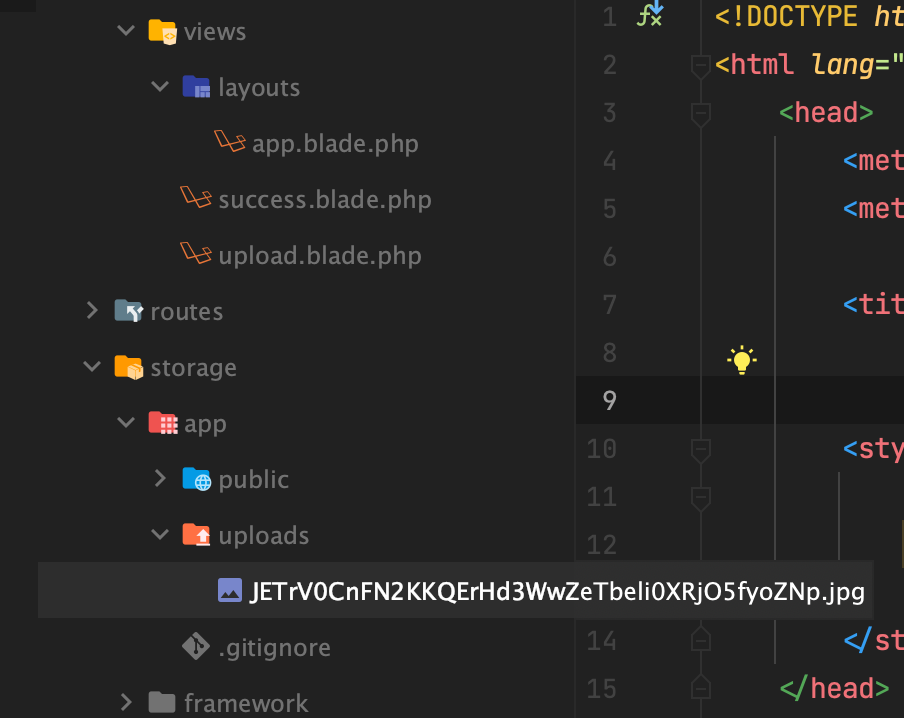
You will notice the file has been given a random name. To keep the original name intact you can replace $file->store('uploads') with $file->storeAs('uploads', $file->getClientOriginalName()).
File Upload Validation
Next up let's look at adding some validation to the file upload handling. It's good practice to put rules in place on what kind of files we want to accept. If we're only interested in images, or more specifically a .jpg then we can do this by setting up some validation rules.
Revisiting the FileUploadController.php, and at the very top of the upload logic and before accessing the file from the request. We can define some validation rules via the request variable like this:
// Specify the validation rules that we want to apply
$request->validate([
    'upload' => 'required|image|max:1000',
]);

// Create a variable referencing the uploaded file from the request
$file = $request->file('upload');

...
After adding this. Try uploading a non-image file and see what happens.
You'll notice that you no longer see a success message and your form has reset. So let's fix that.
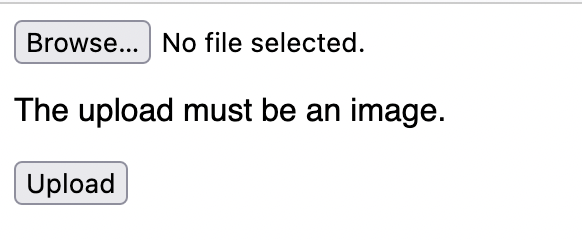
In the upload.blade.php file, where my form is located, I have added a new block below the input field - where you put this within the file is entirely up to you.
@if ($errors->get('upload'))
    <p>
        {{ $errors->get('upload')[0] }}
    </p>
@endif
Trying again to upload a non-image and now we (and our users) know why our file is no longer returning a success message.
Going back to the following validation code from earlier - let's analyse it a little closer.
$request->validate([
    'upload' => 'required|image|max:1000',
]);
I have attached three rules to the upload parameter, each separated by the pipeline | character.
- required: requires this field to be present and to hold a value.
- image: a generic rule to accept the popular image extensions including .jpg, .png, .svg.
- max:1000: Rejects images that exceed 1000kbs (1 MB) in size.
Feel free to play with these rules and to see additional validation rules refer to the Laravel documentation.
Extracting the Validation rules into their own Form Request
To keep our controllers a little cleaner, the validation logic we added can be extracted into its own class called a Form Request.
Let's go ahead and create one and open it up:
php artisan make:request FileUploadRequestDelete the authorize method as we won't be using this. What we are interested in is the rules method, copying the validation rules that we defined earlier from the FileUploadController.
It should look like this:
class FileUploadRequest extends FormRequest
{
    public function rules()
    {
        return [
            'upload' => 'required|image|max:1000',
        ];
    }
}
Finally, go back to the FileUploadController and change the type of the $request parameter on upload() to FileUploadRequest so you get this:
public function upload(FileUploadRequest $request)Don't forget to import the namespace if this hasn't been automatically imported by your code editor for you.
use App\Http\Requests\FileUploadRequest;Try uploading an image again and things should still be working as before. Let's break this down a little.
The validation rules we added have been extracted into a Form Request. Then by adding the class name (as the type) of $request, Laravel will inject the necessary class via dependency injection and perform the validation checks before we even start handling the file.
Handle File Uploads using Formie
Time for a little bit of self-promotion here. I run a service called Formie that takes away a load of the work with backend form processing.
You can sign up today for a free account and without even hosting a server, start handling file uploads and other good form stuff right away.
It is quite literally THIS easy:
<form
action="https://formie.io/form/{form_key}"
method="POST"
enctype="multipart/form-data"
>
<!-- Optional: Redirect to your success page -->
<input name="_redirect" type="hidden" value="http://localhost:8000/success">
<input name='file' type='file'>
<button>Submit</button>
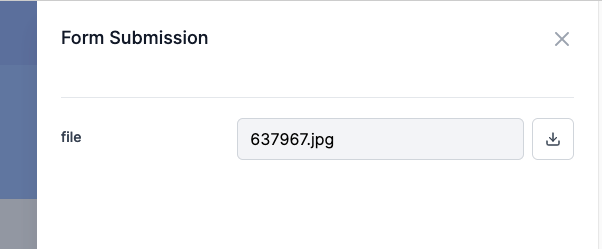
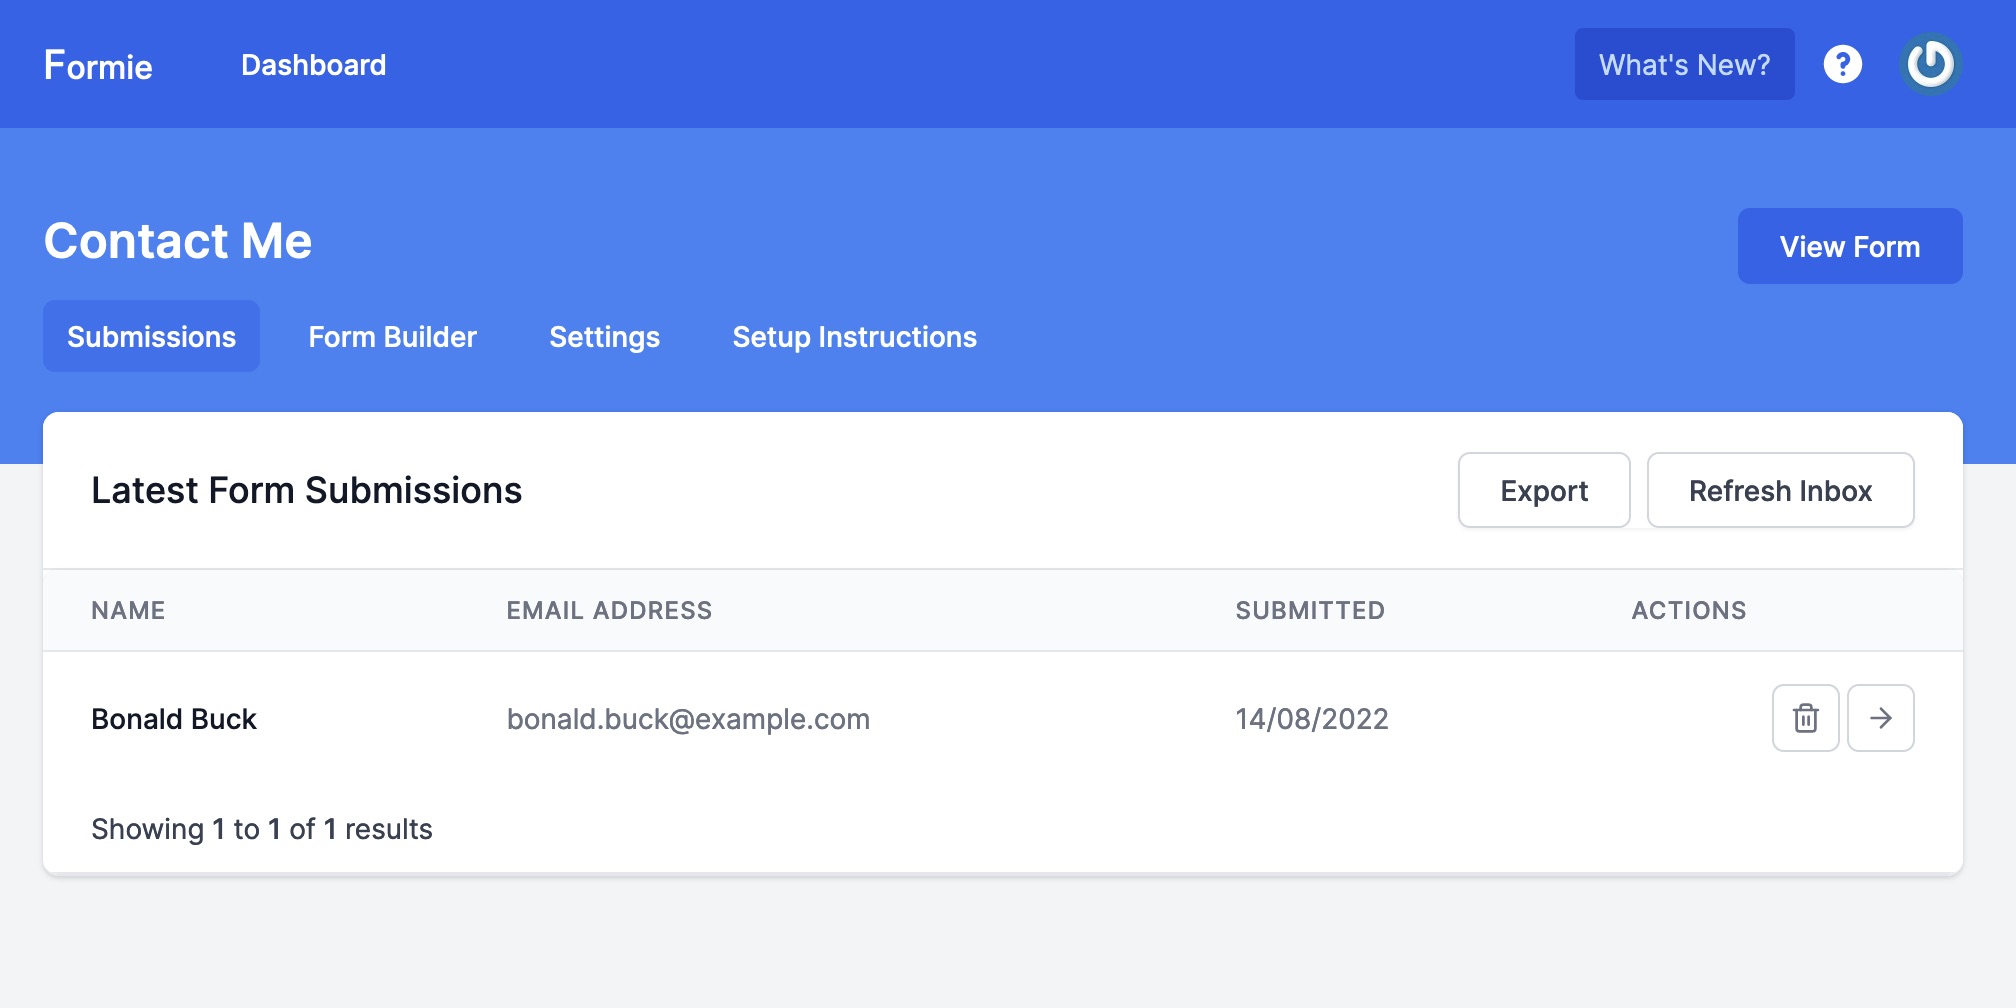
</form>Firing off the form and the input is captured within Formie, ready for you to see!