If you want to host your own Minecraft Bedrock edition dedicated server, this tutorial is for you.
Be aware that this guide differs from setting up a dedicated server for the Java edition. Minecraft Bedrock edition will allow you and your friends playing on multiple platforms to play on the same server.
Why Set Up Your Own Server?
There are many managed services out there that offer Minecraft server hosting with a lot less effort. Sometimes, this comes at a higher cost, and sometimes not, but with other limitations.
While setting up your own server isn't too technical, as this guide will demonstrate, a managed server will get you up and running quicker and with less work.
So why go through the effort of doing this all yourself? For one, you're removing a middleman. This means you cut costs while having the same amount of control over the server as your would-be middleman. Plus, it's fun to tinker, right?
But enough of that, let's get set up!
Creating a Digital Ocean Server
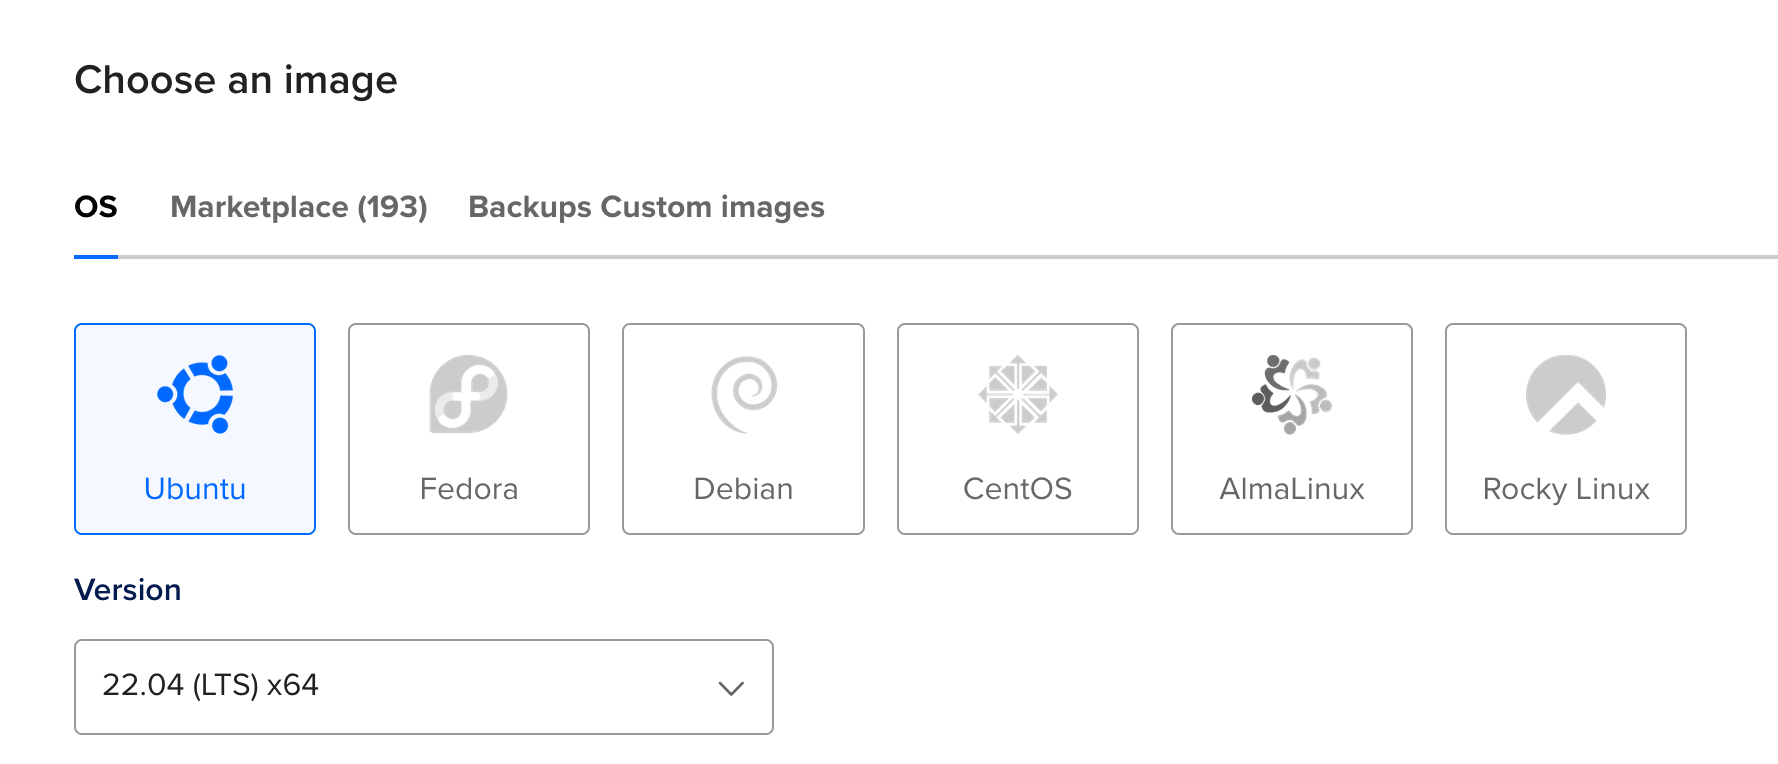
I'm going to use Digital Ocean for this tutorial, with a droplet running Ubuntu 22.04 (LTS).
If you don't have a server yet, you can use my affiliate link for Digital Ocean to get $200 credit to use over 60 days.

Then once you're ready to go, go ahead and begin creating a droplet. As mentioned above, I'm using Ubuntu 22.04 (LTS) for this. If you pick a later edition, it should be okay as well.
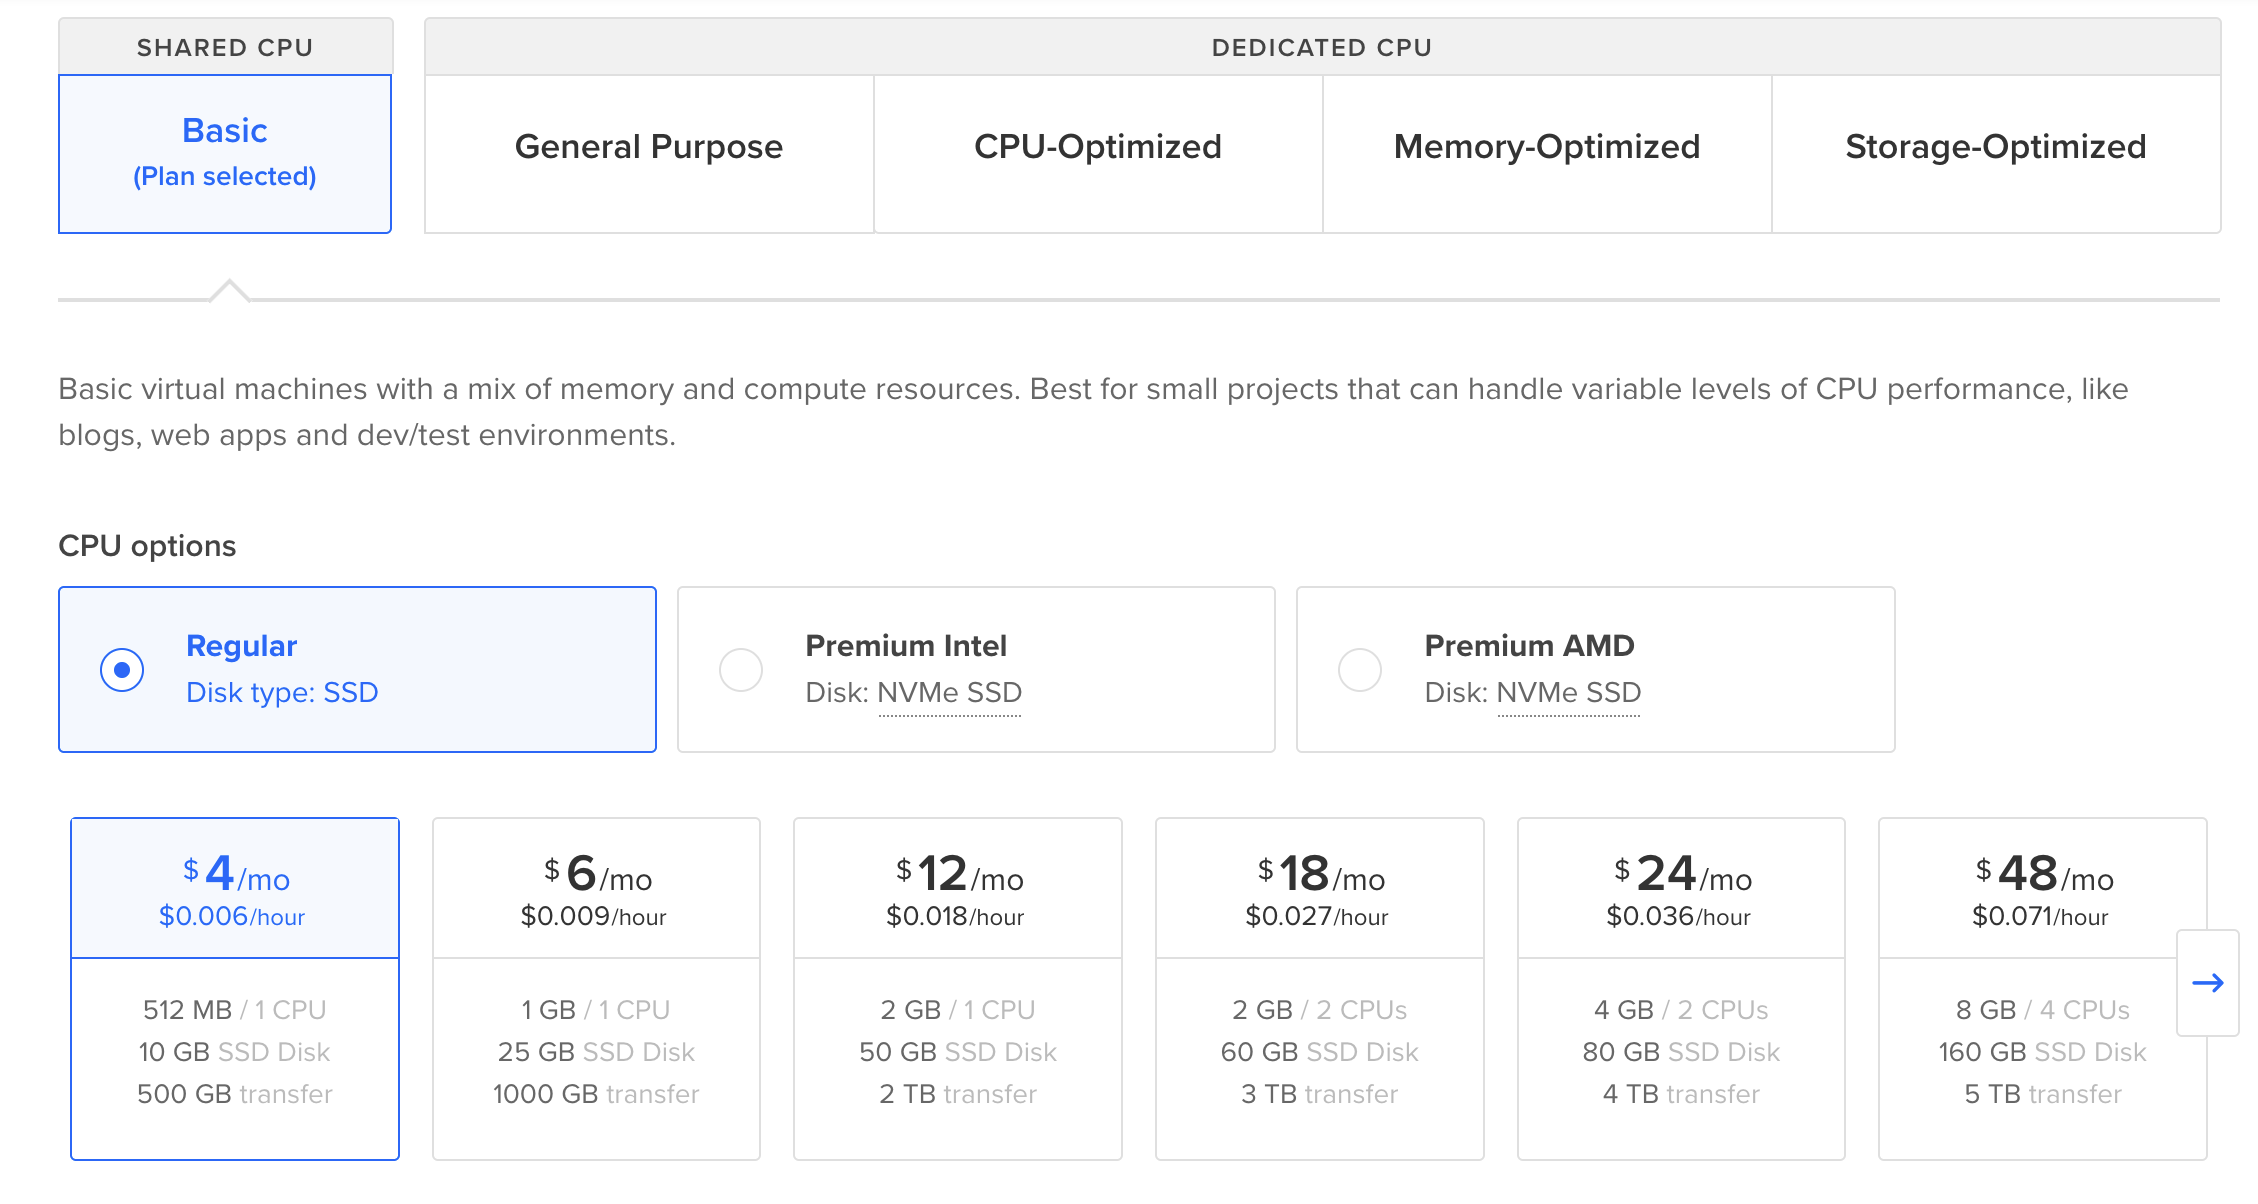
If you only expect a few friends to play. A regular droplet with a shared CPU will be enough - that will set you back $4 or $6 a month to start out with. You can always scale up the server later should you require a server with more resources.
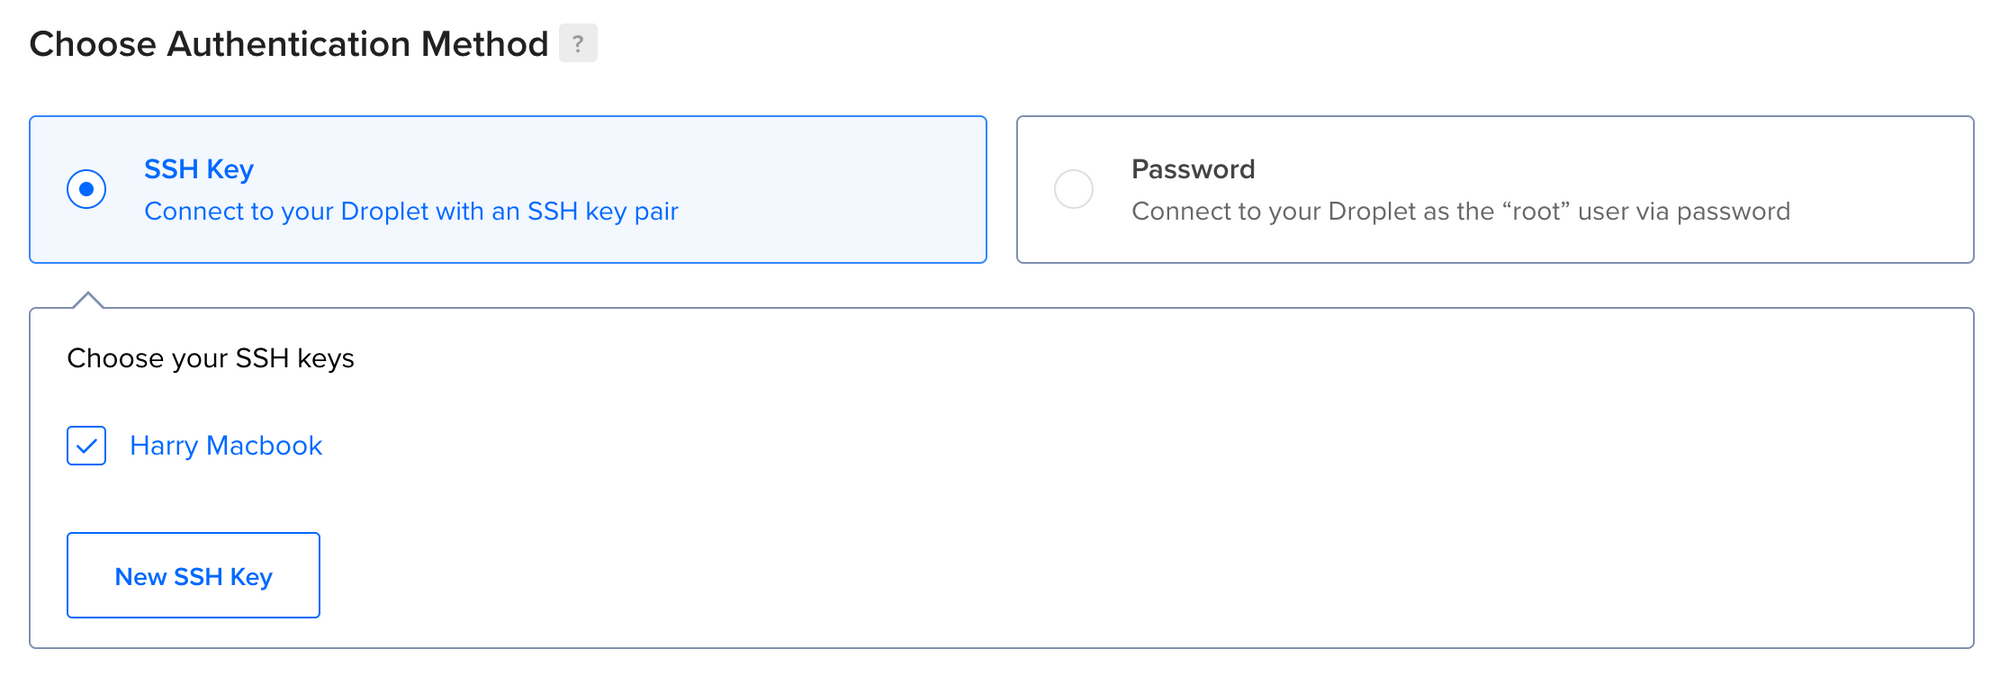
For authenticating with your droplet, you can either use an SSH key or set a password. This is entirely your preference. If you don't know what an SSH key is, that's completely fine - go ahead and pick password instead.
This is what you will use when logging into your droplet later.
Before you finish, give your droplet a name and then go ahead and click the "Create Droplet" button to finish this step. It'll take a minute or two to warm up and then you'll be able to access your server.
To access your server, go to your droplets page and find its IP address. You will need to copy this.

Open a command line / terminal of your choice and enter the following command: (replacing {ip} with the IP address of your server)
ssh root@{ip}You can also open up the droplet in the web interface and click on "Console" to open up a web console. It'll allow you to follow along if you're not sure how to use your computer's own terminal.
Setting up the Server
Okay so we're now SSH'd in. Let's go ahead and start provisioning the server. You should be logged in as root so there's no need to prefix any commands with sudo for now.
Let's ensure our server's package repository is up to date
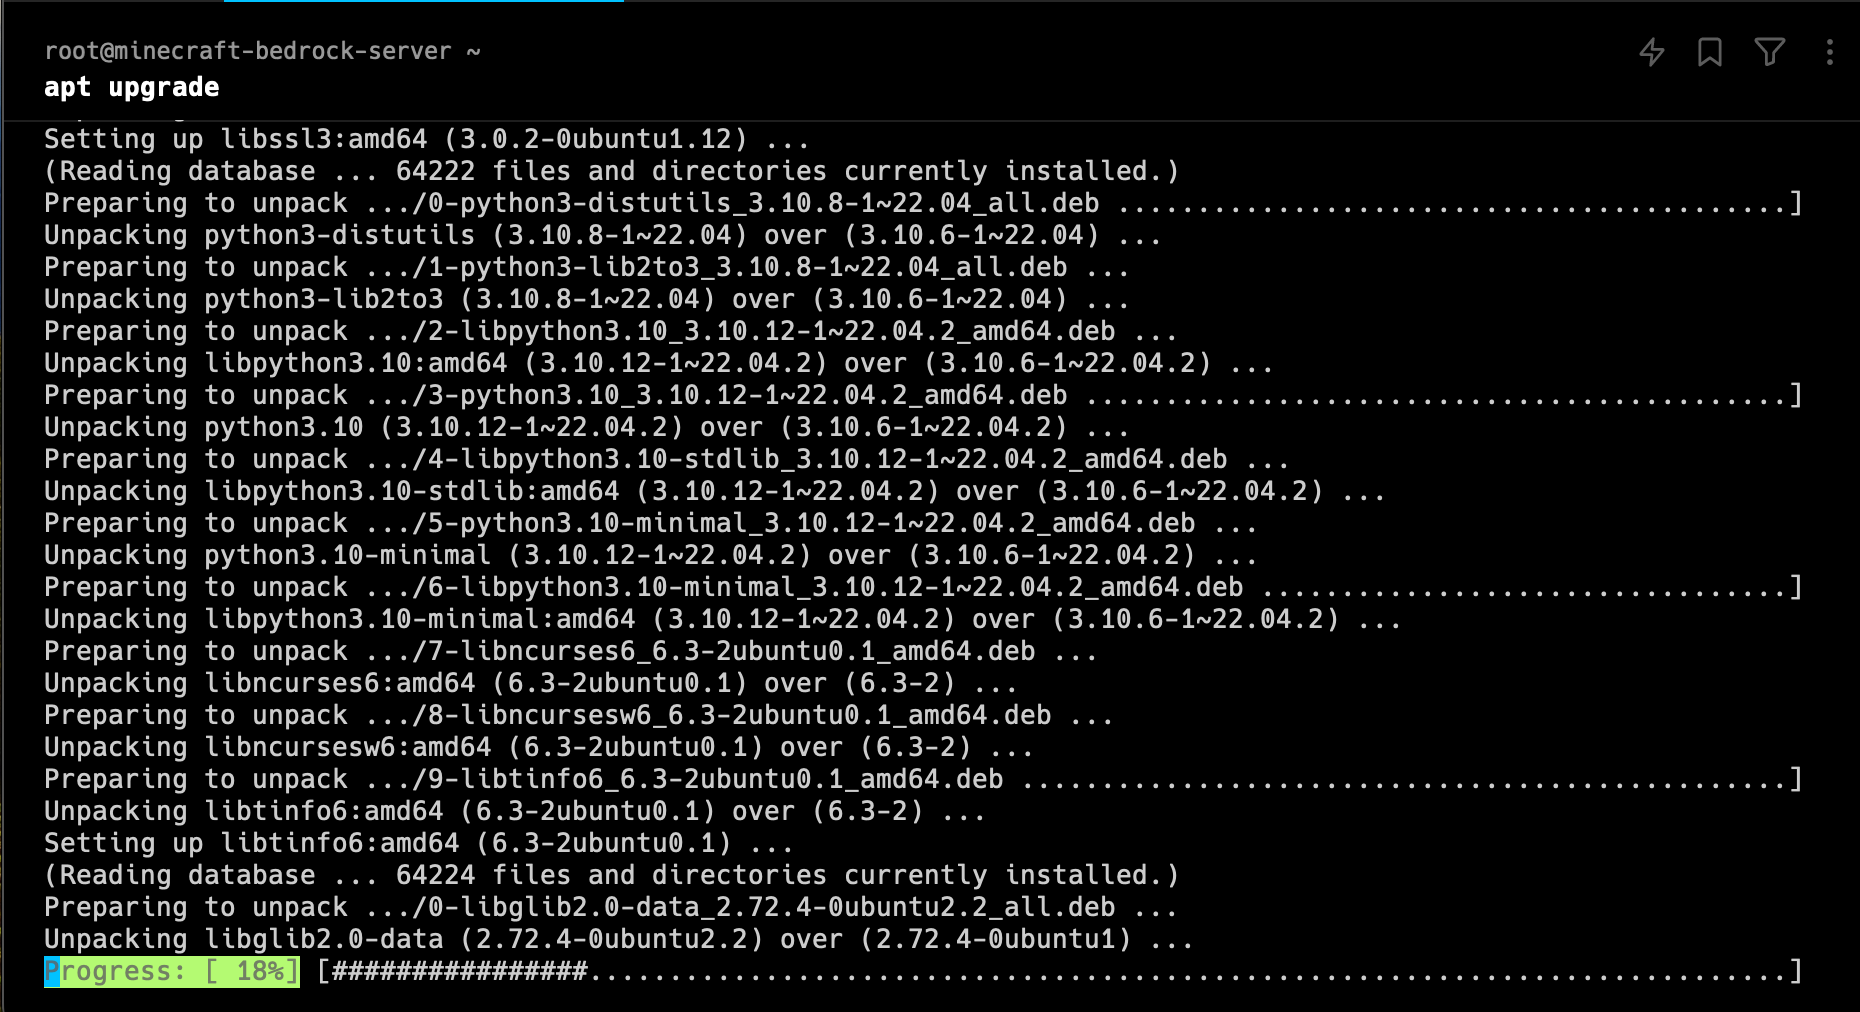
apt updateFollowed by upgrading all our packages:
apt upgradeThis will take a minute or two, but ensures our server has the latest security updates.
Before moving on, we will want to install unzip for extracting the bedrock server later on.
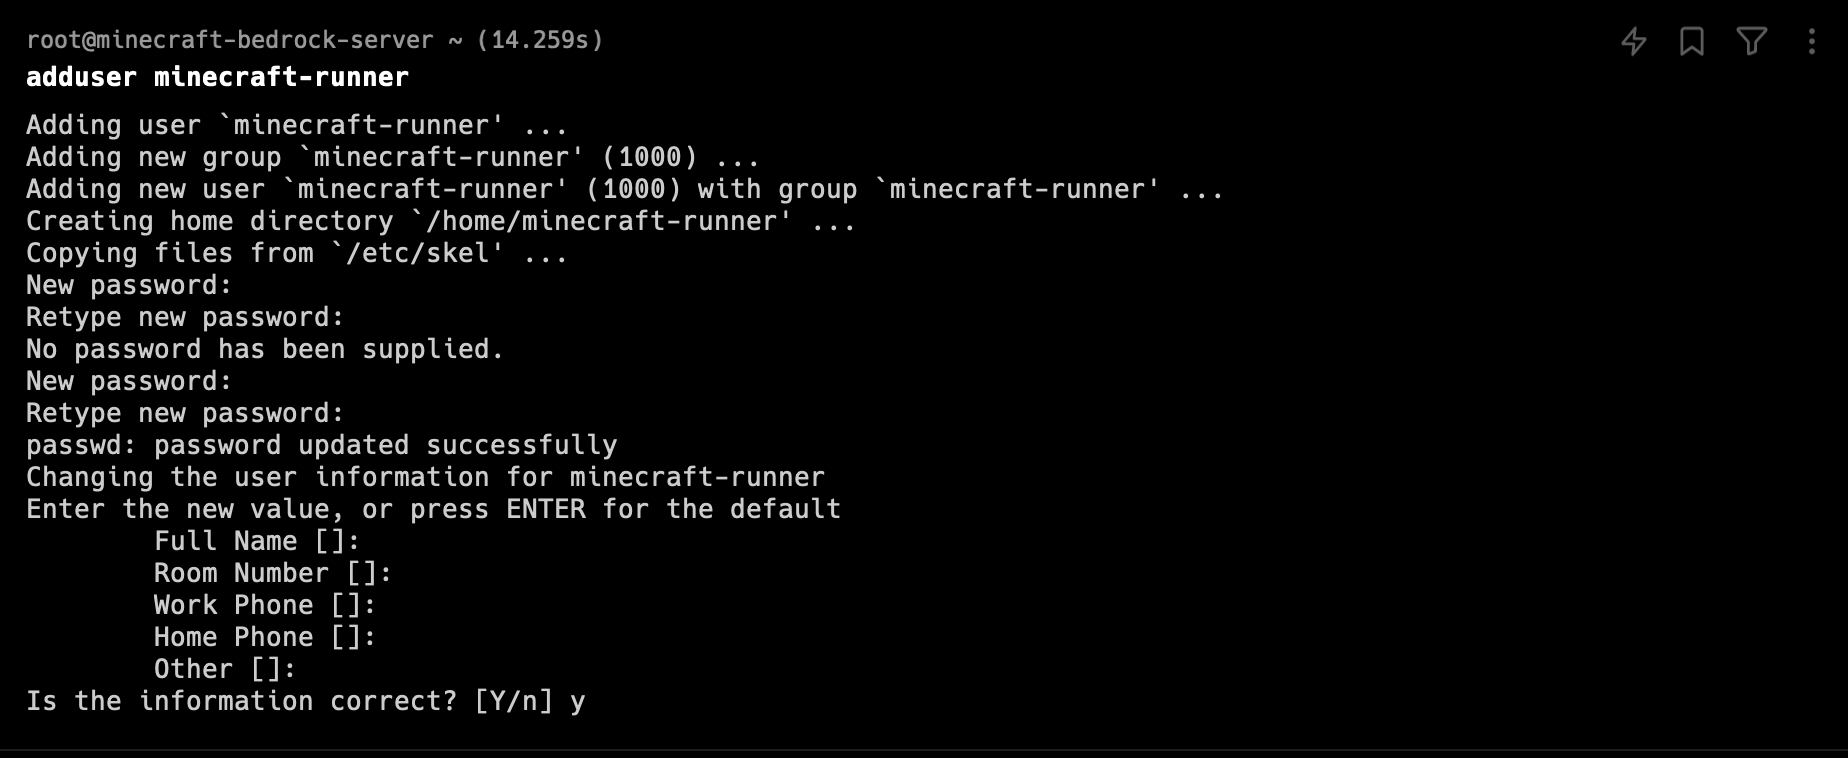
apt install unzipLet's add a new user next, this will create a user and give them a home directory. We will later run the server under this user, as it's a security risk to run the server with root privileges.
adduser minecraft-runnerYou will be asked to enter a password, make sure to give it a secure password, as this will let you log in (or anybody else) via SSH with said username/password.
The rest of the questions are optional, so you can just press enter until you get to the end. Enter 'Y' and press enter to confirm.
Installing The Dedicated Minecraft Bedrock Server
You can obtain the links required to download the server from minecraft.net.
As our server is running Ubuntu, we will want to download the respective server.
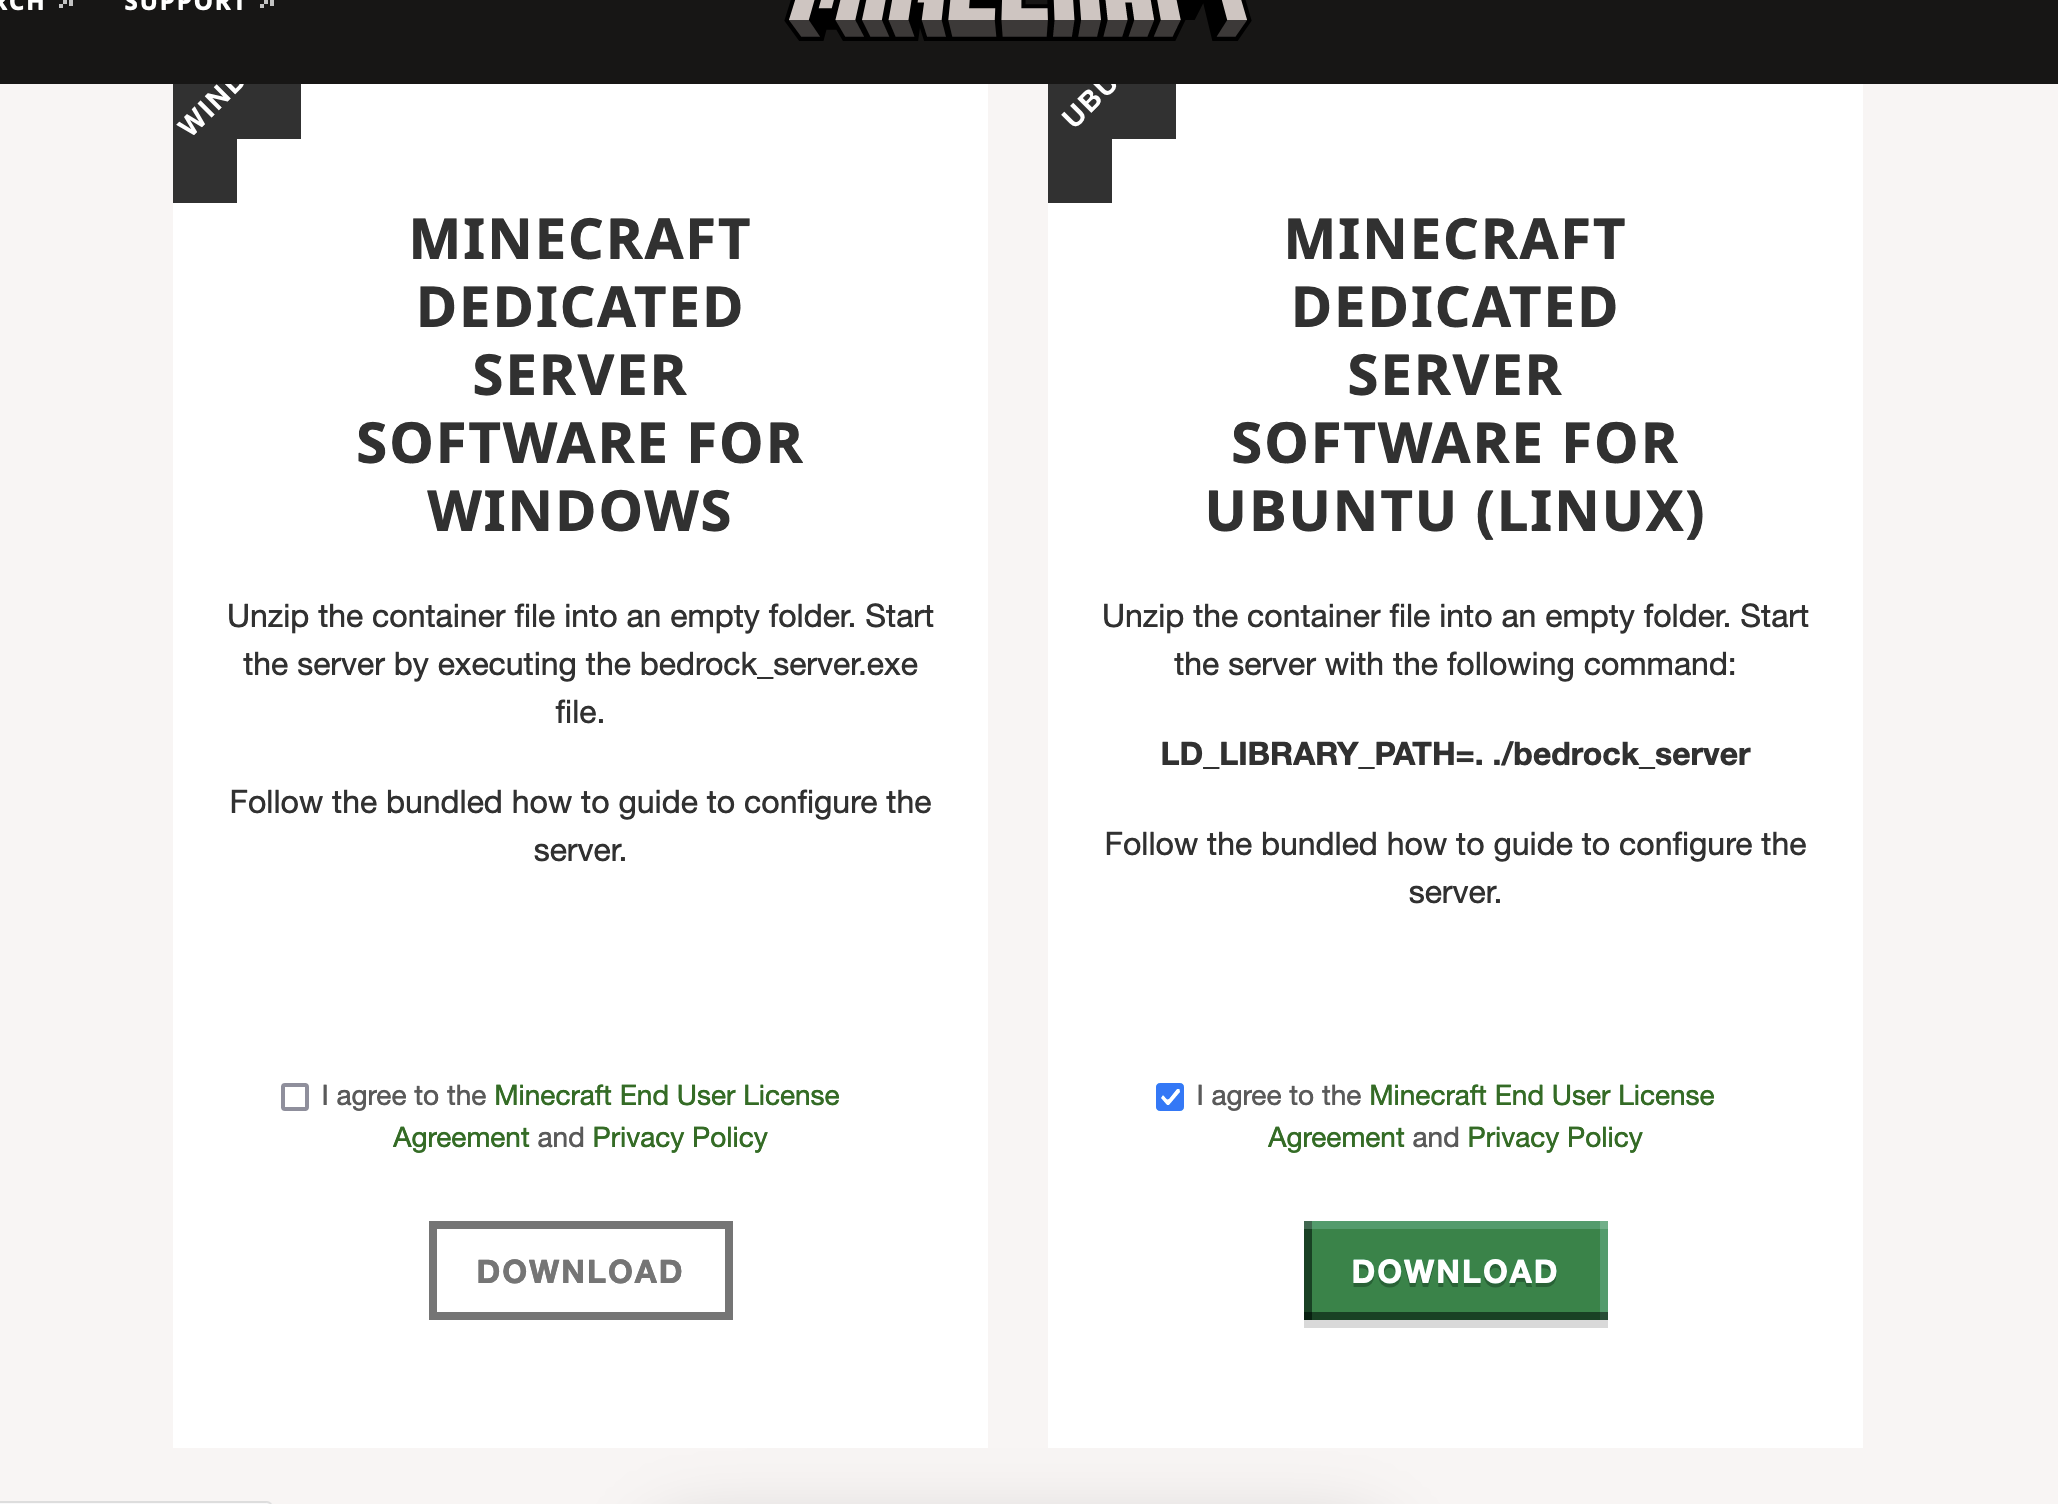
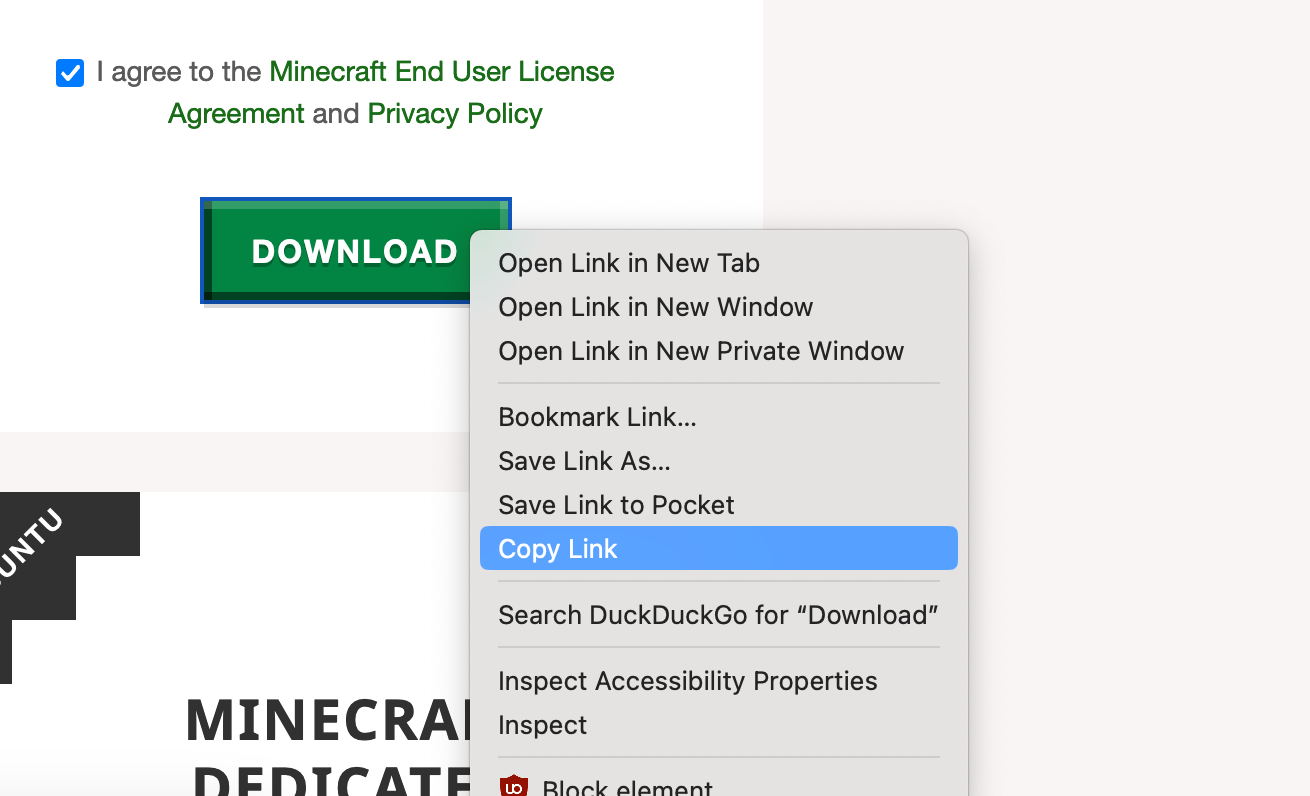
Agree to the end user license and the download button will become active (do not click the button!). You will want to right click and Copy Link, this will give you the latest version available.
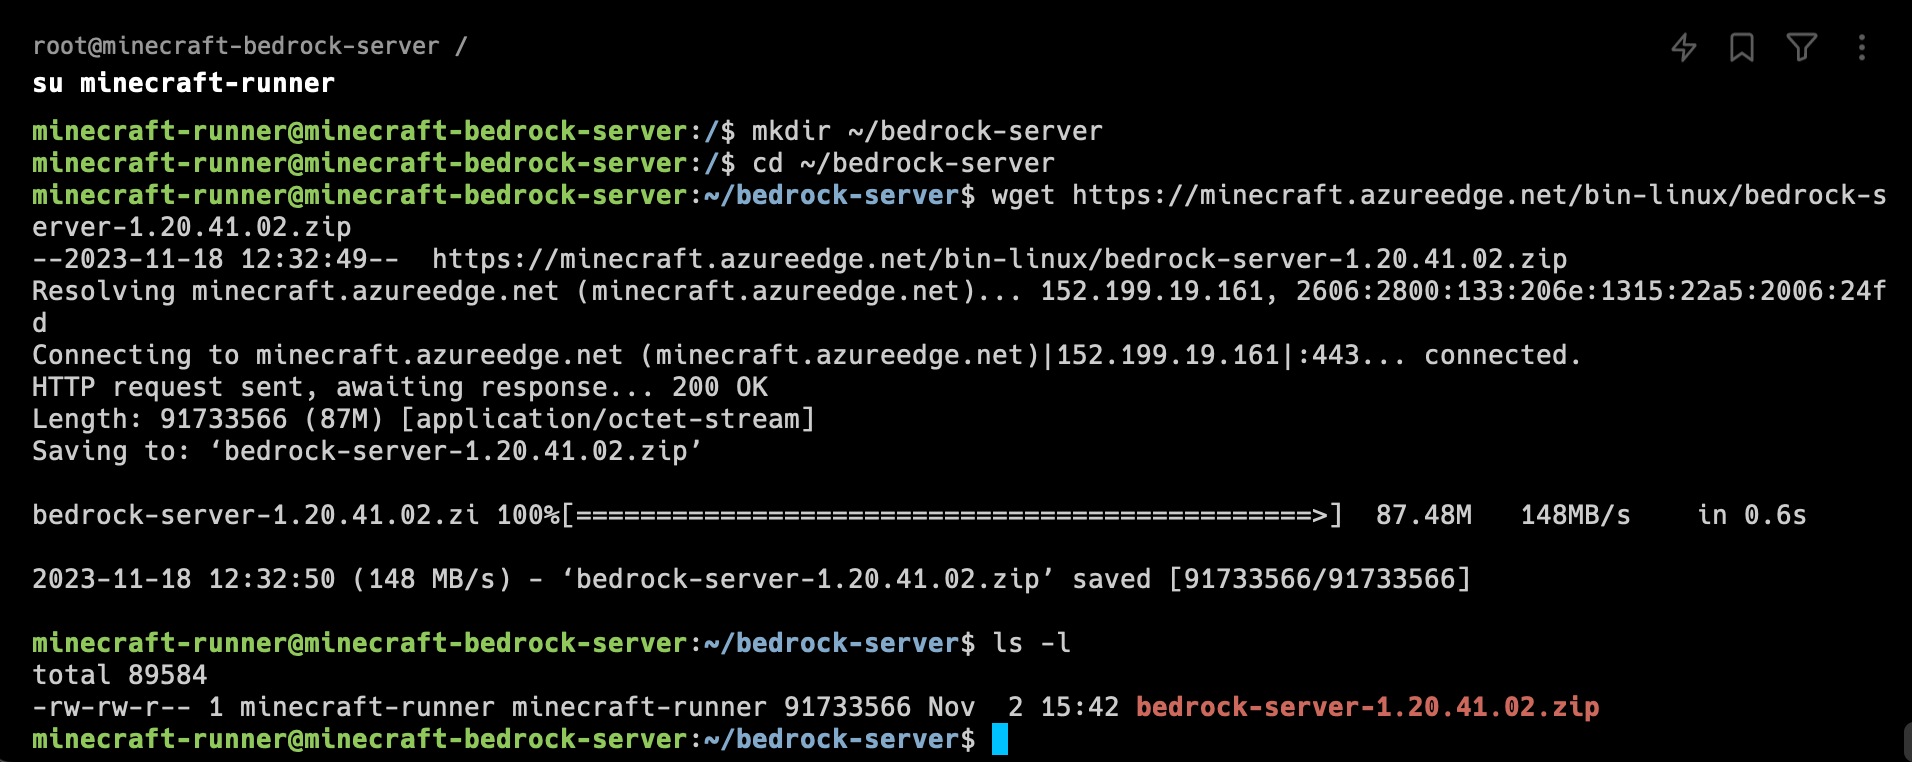
Back to the command line, let's switch over and inside the home directory of the user we created. Make a new directory for the server and change it to our working directory.
mkdir /home/minecraft-runner/bedrock-server
cd /home/minecraft-runner/bedrock-server
And next up, we'll use the link from earlier to download the latest minecraft bedrock server. Replace {url} with the link you got from minecraft.net.
wget {url}This will download the file and place it in the current working directory.
Extract the zip file by using unzip. Change the file to name of the one you downloaded. If you enter b and press tab, it should autofill the rest for you.
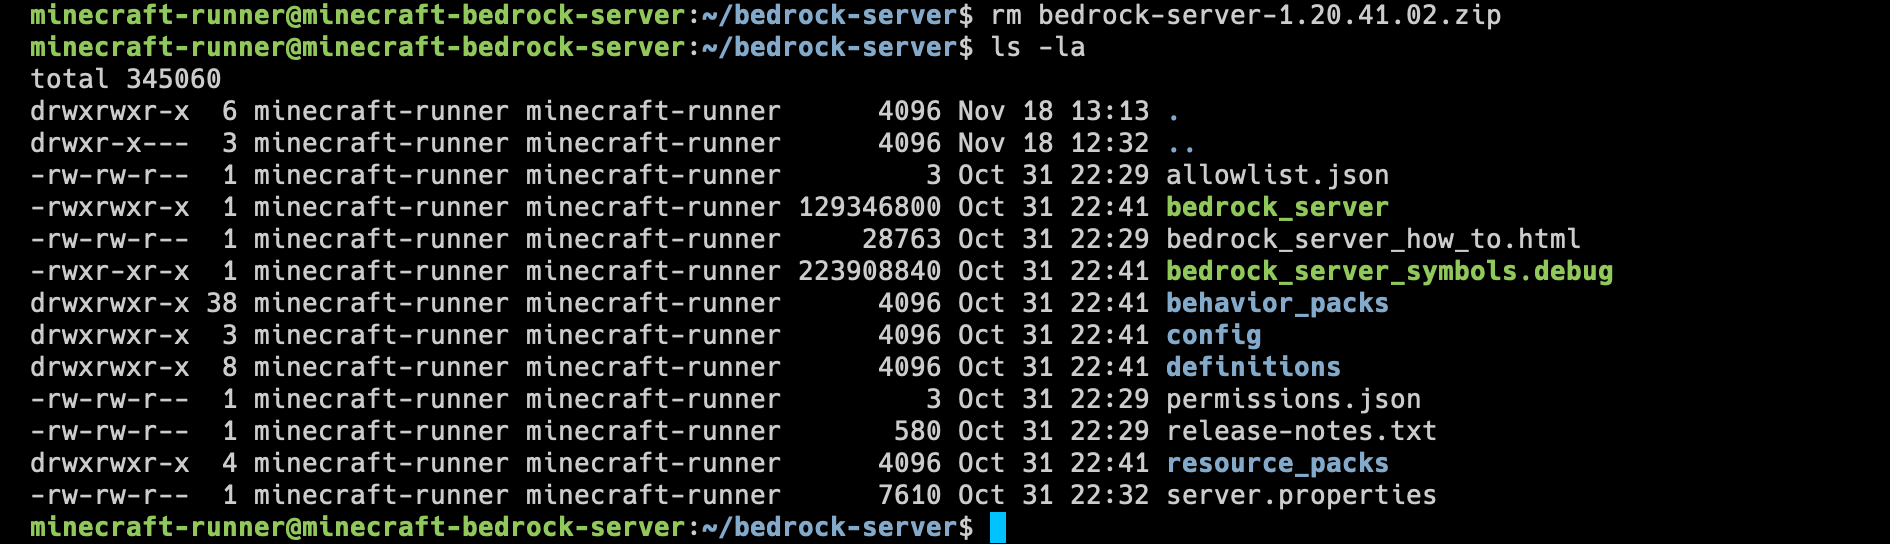
unzip bedrock-server-1.20.41.02.zipThen let's cleanup and remove the zip file once we're done with it.
rm bedrock-server-1.20.41.02.zipRunning a ls -la shows us everything has been extracted and it's now time to start digging into minecraft settings.
Configuring The Minecraft Bedrock Server
First point of all is to open up the server.properties file which houses all the server related settings.
To do that, open up the file in your favourite editor (or nano if you don't have a favourite yet).
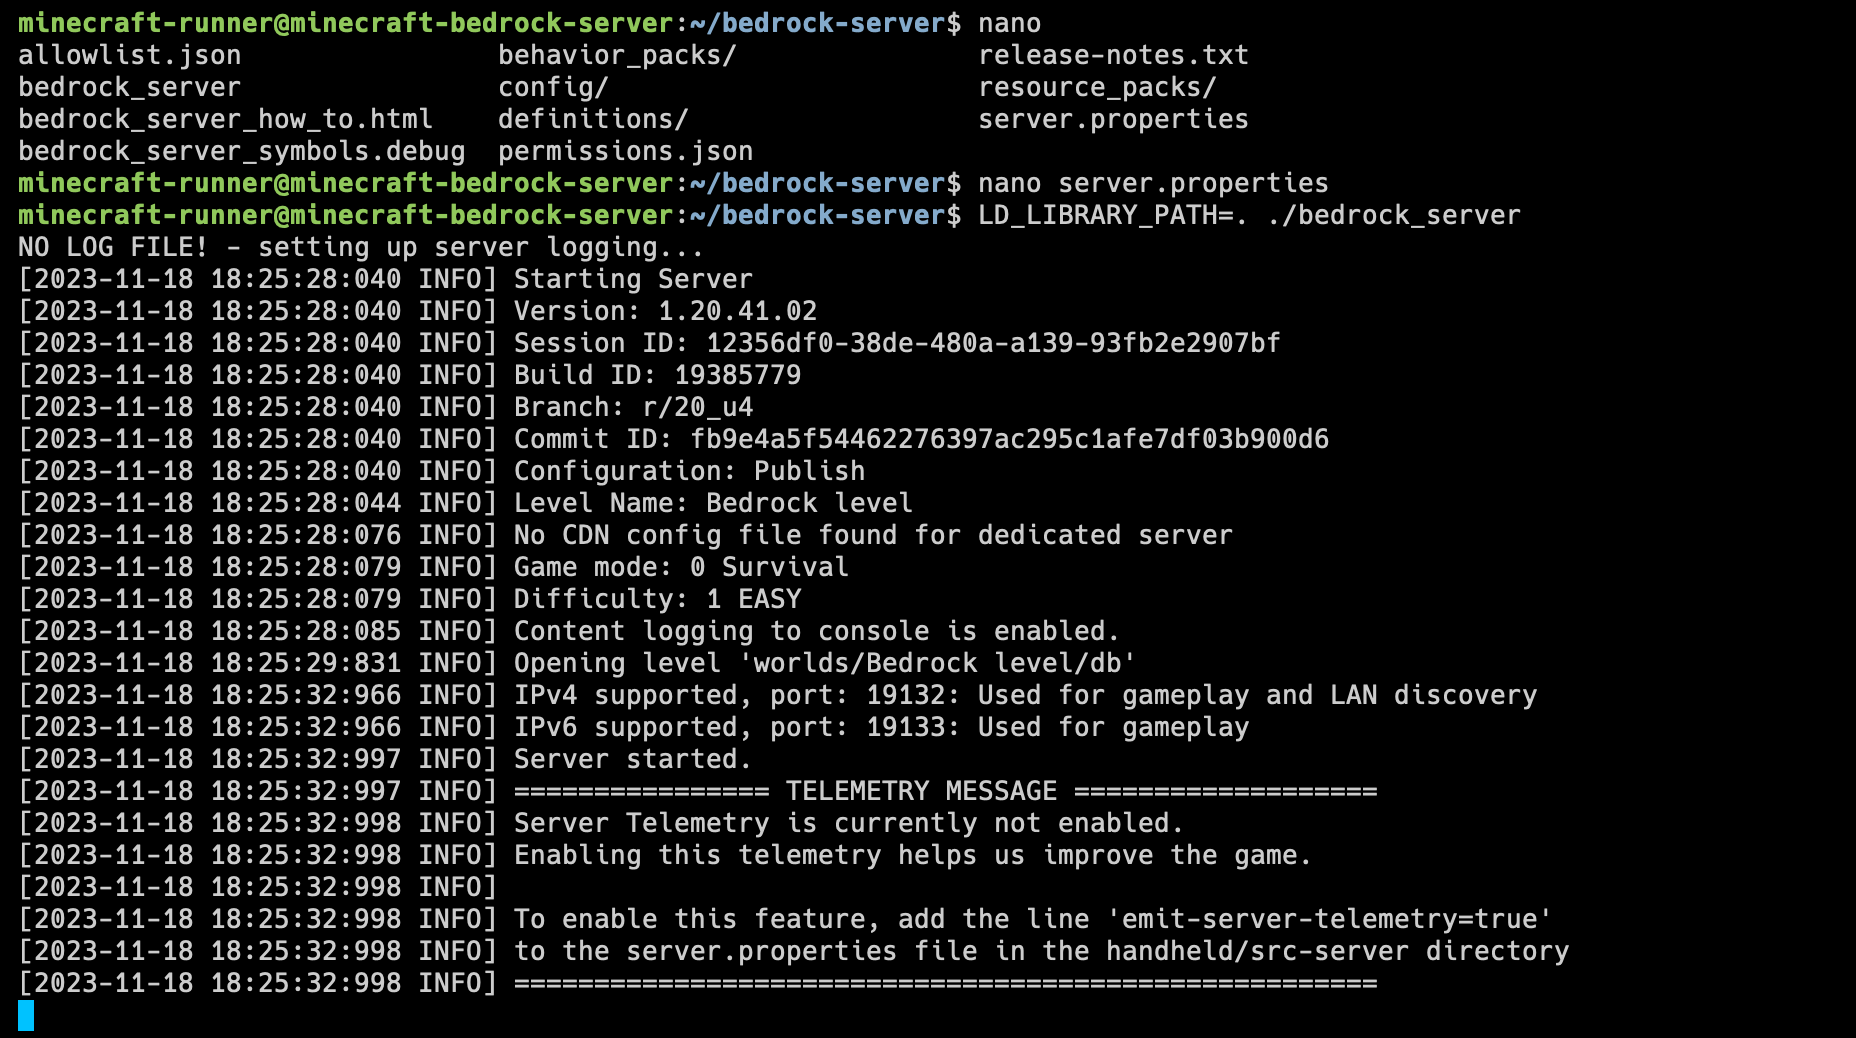
nano server.propertiesThis will allow you to view and edit the server.properties file. It's well documented so tweak it as you see fit to tailor the server to your liking.
Once happy - it's time to fire up the server. Run the following:
LD_LIBRARY_PATH=. ./bedrock_serverAnd now your server is running!
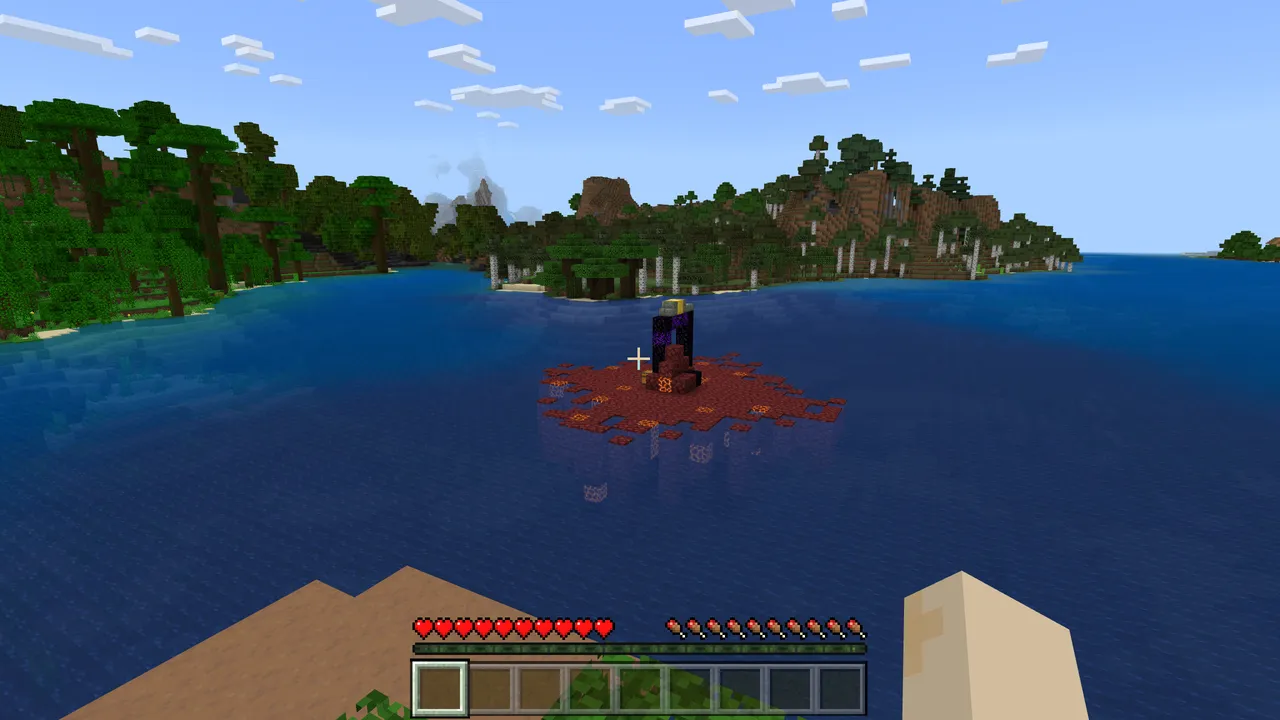
Let's go ahead and try connecting!
Connecting To Your Dedicated Bedrock Server
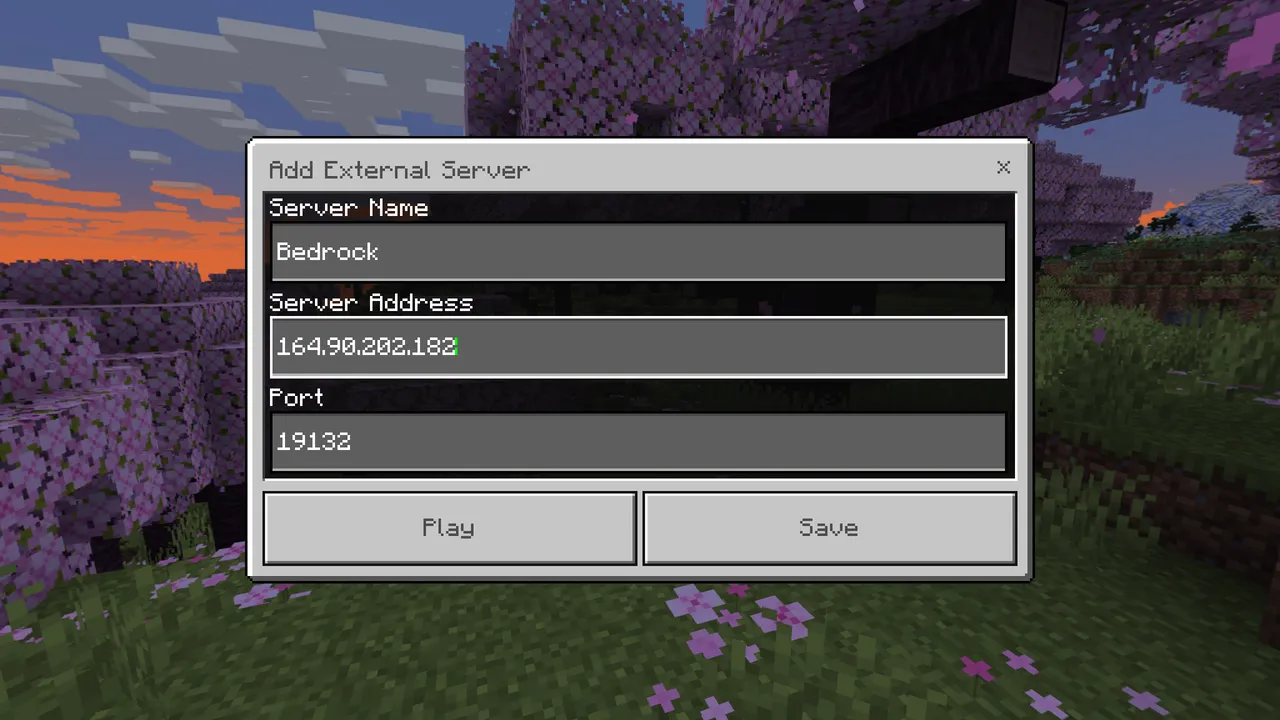
Take note of your IP and port. The IP is the same one as you used to SSH into the server. As for the port, confirm this in your server.properties file. But if you haven't changed this, it'll be the default (port 19132)
Boot up Minecraft Bedrock edition, and on the "Servers" tab click on "Add Server" at the bottom. You will be prompted to enter your server's name, IP, and port. The name can be anything you like. The server and port need to match your server's IP and port respectively.
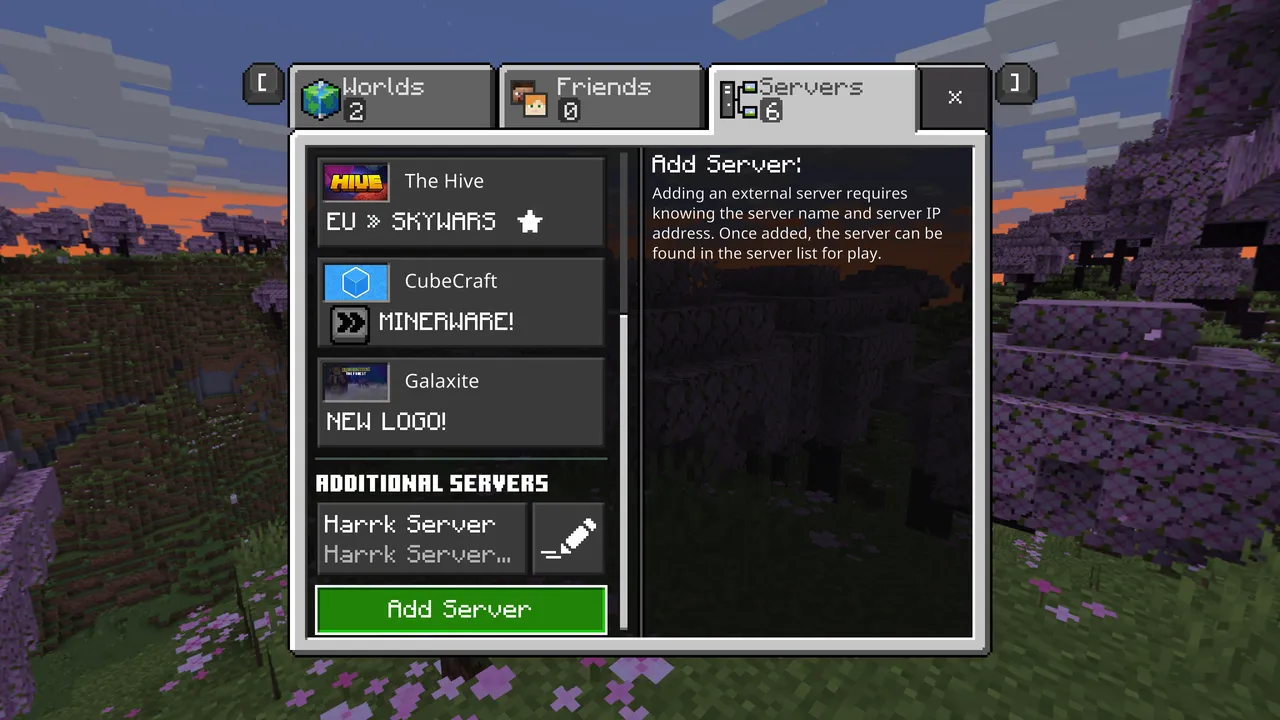

Minecraft Bedrock: Client Setup
Once entered, click save to keep it in your server and list and if everything is okay, you should see that the server is online. Connect to it and see your new world!
Keeping The Bedrock Server Running
So you've probably noticed that you need to stay connected to your server via SSH, otherwise your bedrock server will go offline. That isn't very convinient, so let's turn it into a daemon.
A deamon is a process that runs silenty in the background and can be instructed to start on system startup by using something like systemd. That's exactly what we need.
Let's go ahead and create a systemd service. You will need root access for this, so type exit if you used su earlier to switch users.
Create a systemd service with the below and use nano to enter edit mode:
touch /etc/systemd/system/bedrock.service
nano /etc/systemd/system/bedrock.service
Paste the contents below into the file and save. If you changed anything like the user's name or directory, make the edits necessary that work for you.
[Unit]
Description=Minecraft Bedrock Server
After=network.target

[Service]
User=minecraft-runner
Group=minecraft-runner

Type=Simple

WorkingDirectory=/home/minecraft-runner/bedrock-server
ExecStart=/bin/sh -c "LD_LIBRARY_PATH=. ./bedrock_server"
TimeoutStopSec=20
Restart=on-failure

[Install]
WantedBy=multi-user.target
After exiting the file. We need to enable the service:
systemctl enable bedrock.serviceFinally, start the service to run the server:
service bedrock startTo check it's running, either connect to the server via your Minecraft client. Or run:
service bedrock status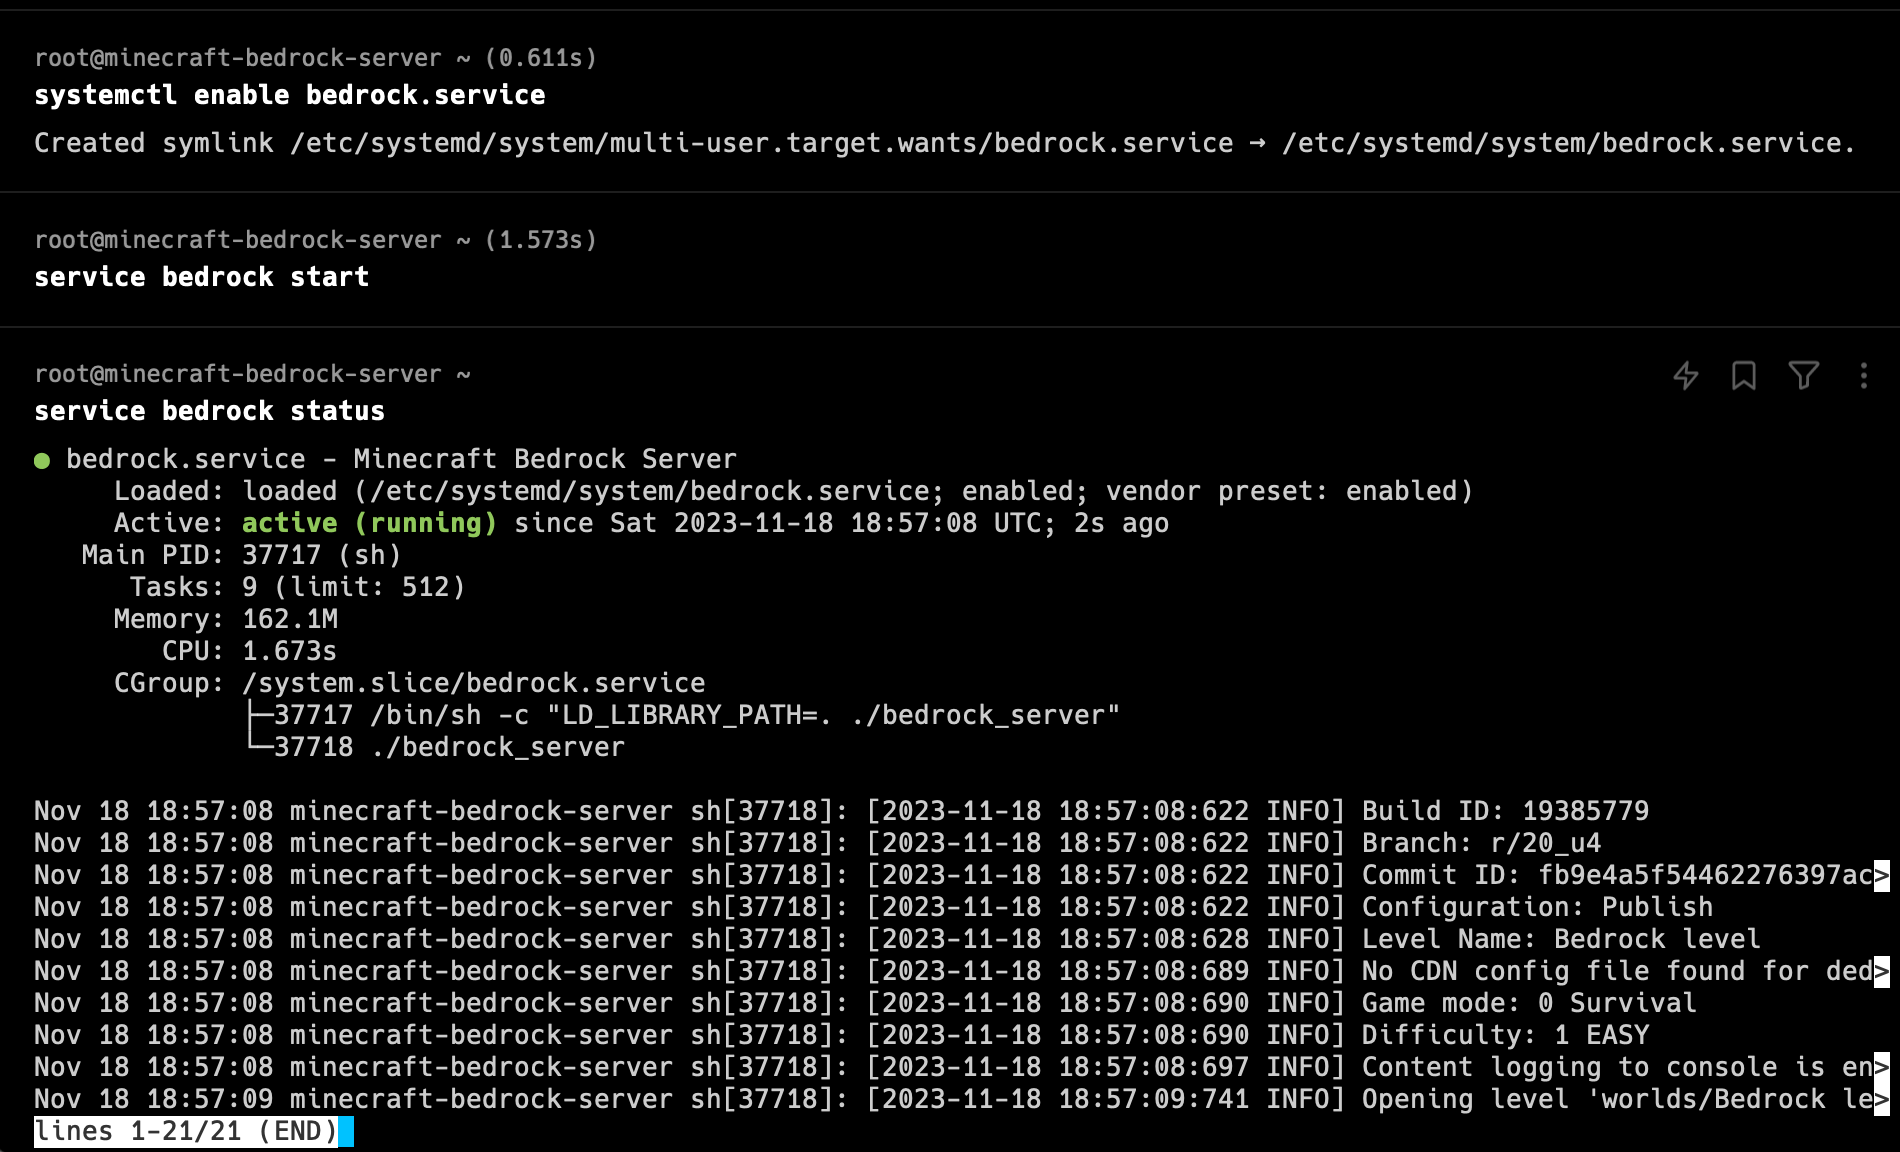
Looking good!
And that's everything to setting up your own Minecraft Bedrock server. Enjoy! :)
FAQ
Where To Find The Minecraft Bedrock Server Download?
You can find the latest version of the Minecraft Bedrock Server on the Minecraft website.