Starting with the problem.
Nothing is more infuriating than having to spin up a server and write up some backend code for the simple sake of handling a contact form.
Take this form for example. All we're asking for is a name, email, and the user's query. It can easily be hosted on a static hosting provider for absolutely nothing - the problem is, how do you actually save form submissions?
<form method="POST">
	<input name='name' type='text'>
	<input name='email' type='email'>
	<input name='query' type='text'>
    <button>Submit</button>
</form>
Those who know a bit about backend coding will have no problem spinning up a Digital Ocean droplet or an AWS Lambda script. However, now you're investing more time into this solution than you really need to.
It's a nuisance I have faced several times and so I built formie.io to handle it for me. This article will show you how to set up your contact forms using Formie as your form's backend.
At a glance, Formie offers the following features:
- Form validation, requiring users to submit relevant data.
- Process and store uploaded images and files.
- Get notified by email every time a new form submission is received.
- Hosted form solution
- Integrations and webhooks, and more.
Setting up the "backend"
The first thing to do is go ahead and get set up with a free Formie account. You can register a new account using an email address, or quickly log in using Github.
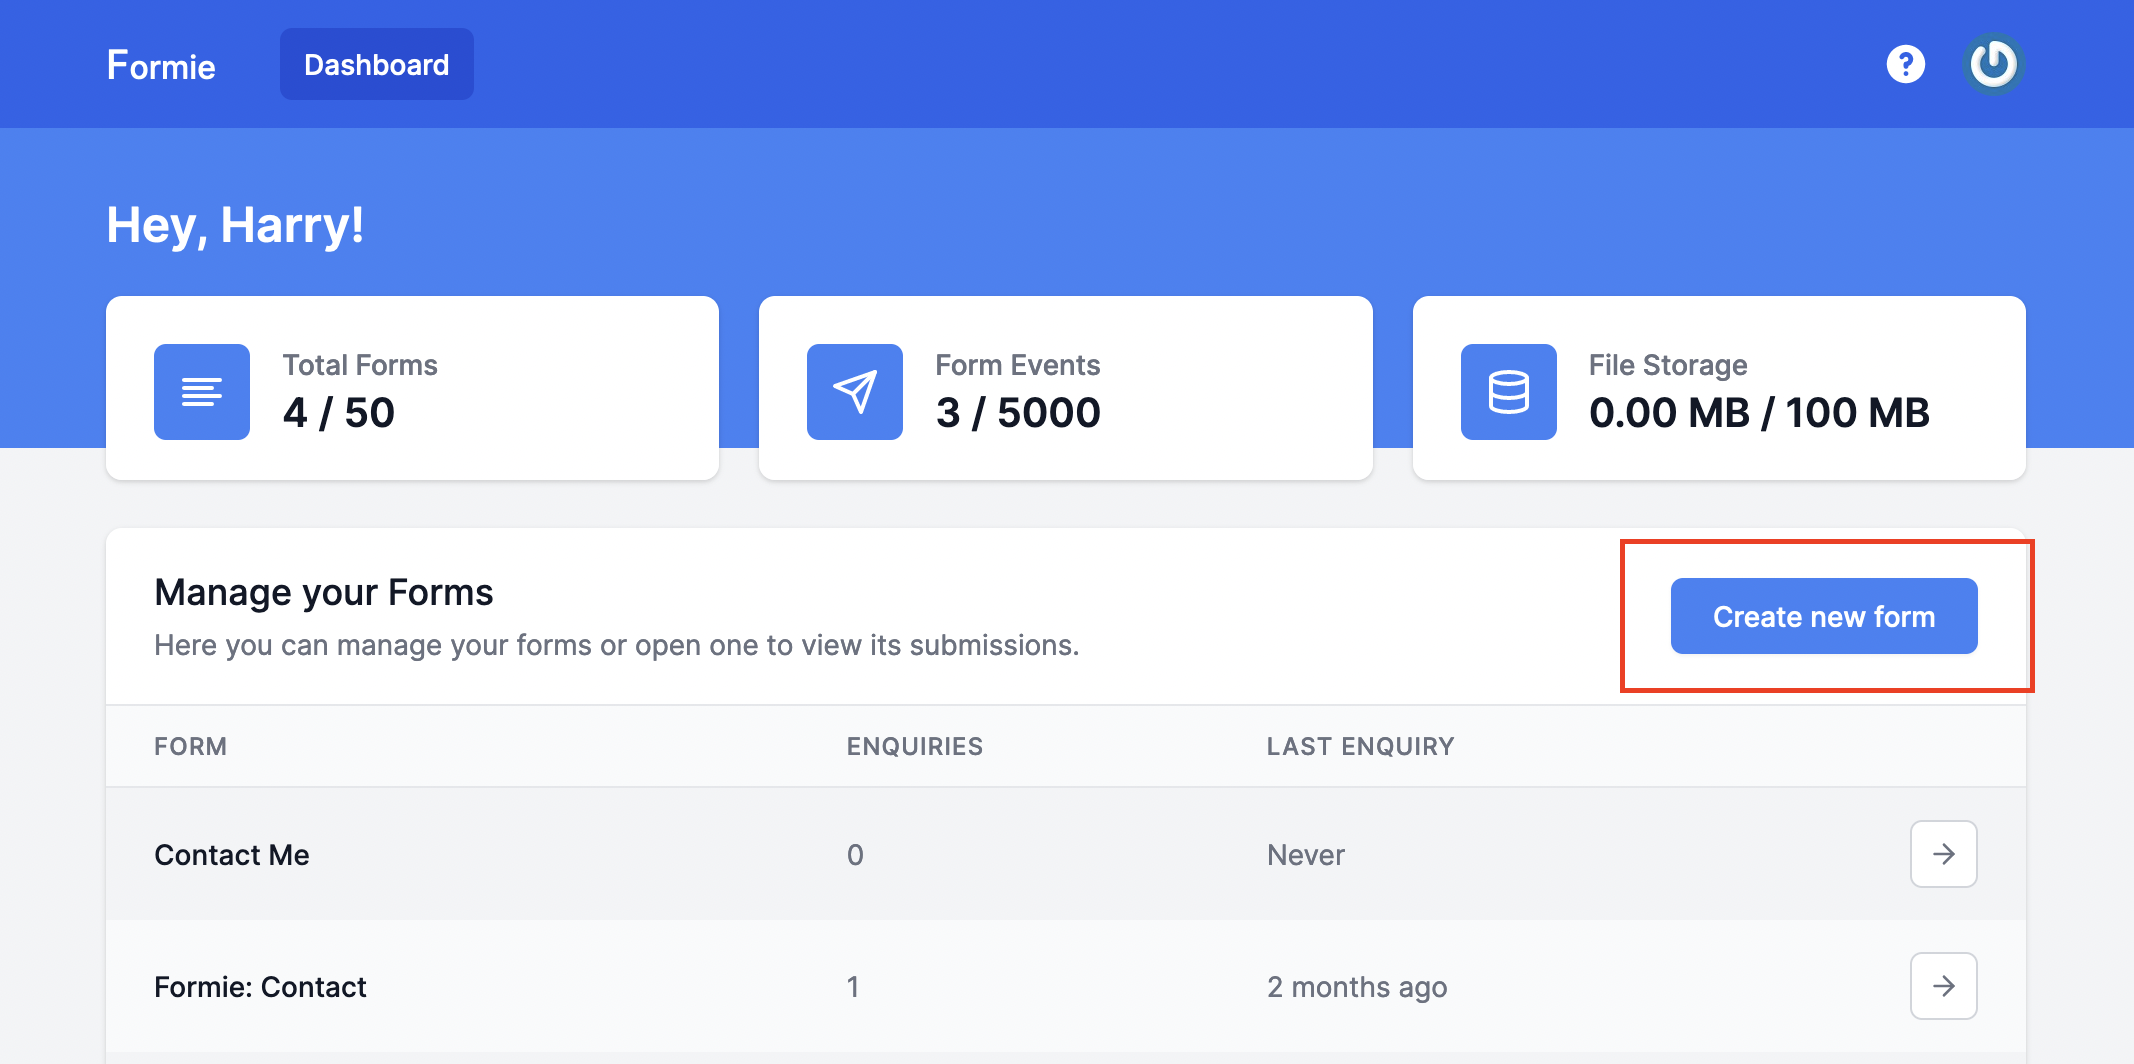
Once on your dashboard, go ahead and click "Create new form".
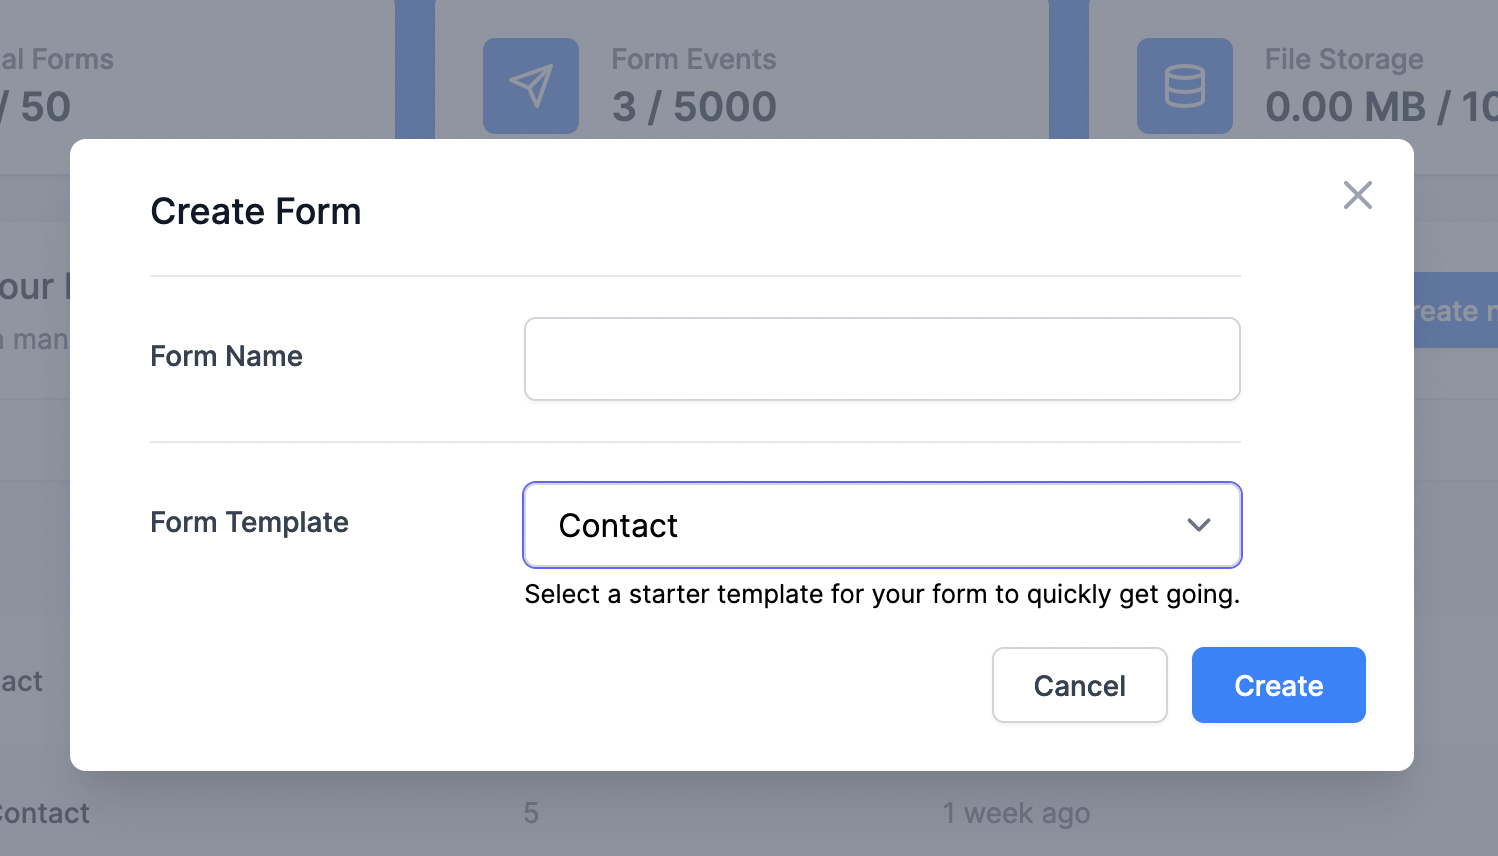
You will be asked to give your form a name. Optionally, you can pick a Form Template to get going quicker. This will preconfigure a few things to get you going quicker.
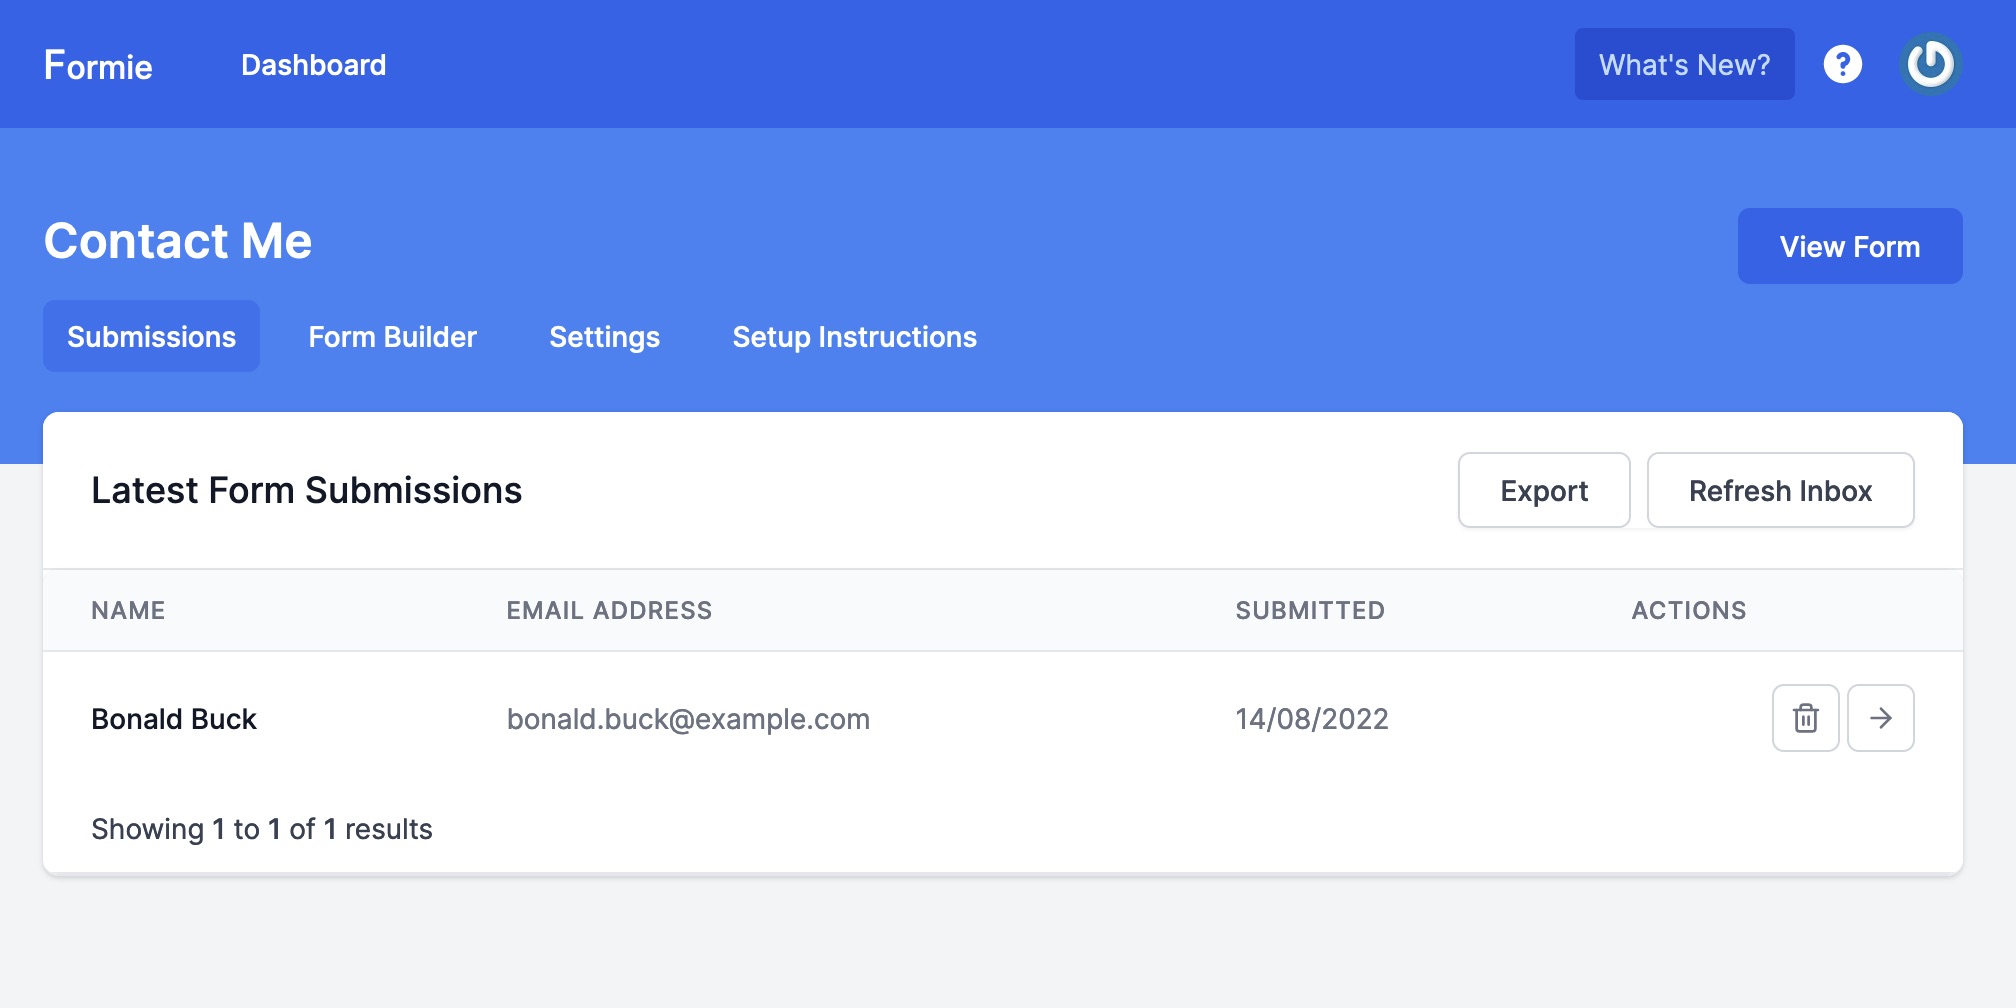
Right away you should be greeted by your form's dashboard with a single submission inside to show you how things look.
As I have created my form using the contact form template. Clicking on the "Setup Instructions" will give me the minimum HTML I need to plop on my frontend website for things to start working.
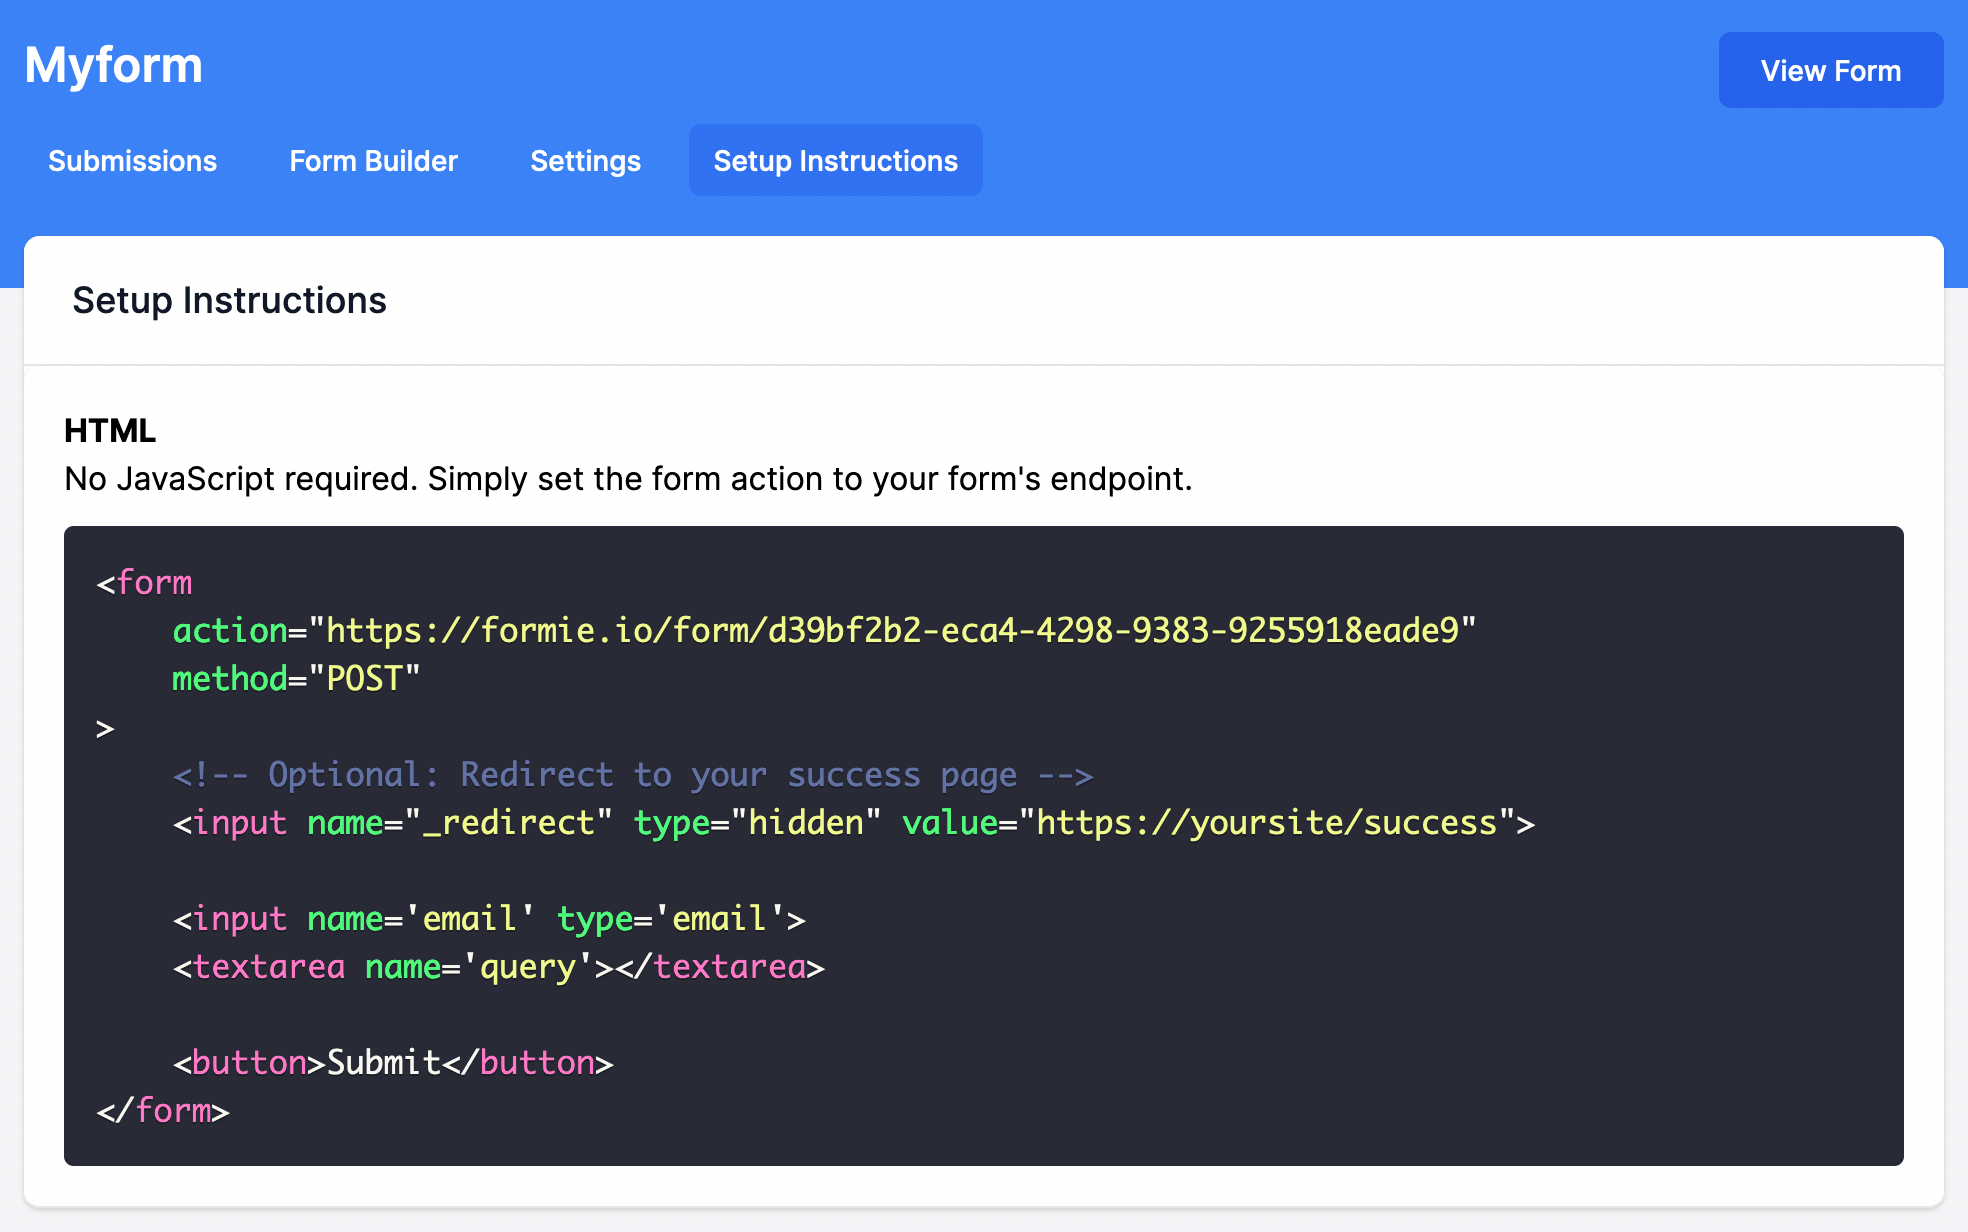
To explain the code. It's just your bog standard HTML form. There's a field for an email address, and a textarea for somebody to enter their query. There's also a hidden input field containing a success page URL - Formie will pick this up and redirect the user to this page after successfully handling the submission. Though a redirect is optional if you choose to handle this yourself through JavaScript.
The real "magic" happens on the action attribute of the form. This instructs the form to submit its data to Formie.
Nevertheless, copy and paste this code into your webpage and you're all set up for handling form submissions. 🎉
The Form Builder
The form builder tab is where you can define your form's validation rules.

Since your rendered HTML form is open to tampering, anybody can freely work around your frontend's validation and start spamming you with nonsense. This is why it's always a good idea to validate server side.
For every field in your form, it must be defined here otherwise it will be ignored when stored.
Formie is about making life easy, so as you flesh out your fields. The "Setup Instructions" will output the HTML as defined by your rules. All you need to do is copy and paste, and tweak it to your liking.
Conclusion
We quickly covered how to create a contact form without a server by using Formie which takes a lot of the hassle out of managing your own backend.
This can be taken further by adding file/image uploads to the form, CAPTCHA, or even integrations. There's more planned down the line, too.
If you have trouble or something isn't quite hitting your requirements. Feel free to reach out at any time.